Application and operation steps of reflectance meter
A reflectivity meter, also known as a reflectometer, is a device used to measure the reflectance or reflectivity of a surface. Reflectivity is the ability of a surface to reflect light or other electromagnetic radiation. Reflectivity meters typically work by emitting light or other radiation onto a surface and measuring the intensity of the reflected radiation. The reflectivity of a surface is often expressed as a percentage, with 100% representing perfect reflection (all incident radiation is reflected) and 0% representing perfect absorption (no incident radiation is reflected).
Reflectivity meters are commonly used in various fields, including optics, materials science, coatings, automotive, aerospace, and agriculture. They are used to measure and quantify the reflectance properties of surfaces, such as mirrors, metals, paints, plastics, fabrics, and agricultural crops. Reflectivity measurements can be important in quality control, product development, research, and other applications where the reflective properties of a surface need to be accurately characterized or optimized. Reflectivity meters may use different wavelengths of light or other types of radiation depending on the specific application and requirements of the measurement.
Testing reflectivity using a reflectivity meter typically involves the following general steps:
Prepare the surface: Ensure that the surface to be tested is clean, dry, and free from any dirt, debris, or contaminants that could affect the reflectivity measurement.
Set up the reflectivity meter: Follow the manufacturer's instructions to properly set up the reflectivity meter. This may involve connecting it to a power source, calibrating the instrument, selecting the appropriate settings (e.g., wavelength or type of radiation), and ensuring that the measurement geometry (e.g., angle of incidence and angle of reflection) is properly configured.
Position the reflectivity meter: Place the reflectivity meter in a stable position, typically perpendicular to the surface to be tested. Ensure that the measurement area on the surface is within the field of view of the reflectivity meter.
Take measurements: Trigger the reflectivity meter to emit the light or radiation onto the surface, and record the intensity of the reflected radiation. The reflectivity meter may provide a direct readout of the reflectivity percentage or may output data that needs to be analyzed further.
Repeat measurements: For accuracy, it is often recommended to take multiple measurements at different locations on the surface or by averaging multiple measurements to account for any potential variability in the surface's reflectivity.
Analyze the data: Review the reflectivity data obtained from the reflectivity meter and analyze it as needed for your specific application. This may involve comparing the reflectivity values to specifications or standards, conducting statistical analysis, or using the data for further calculations or modeling.
Interpret the results: Interpret the reflectivity measurements in the context of your specific application or requirements. Reflectivity values close to 100% indicate high reflectance, while values close to 0% indicate low reflectance or high absorption. Consider the characteristics of the surface being tested, such as its material properties, surface roughness, and other factors that may affect reflectivity.
It's important to follow the manufacturer's instructions for your specific reflectivity meter and to consider any specific requirements or standards relevant to your application. Consulting with an expert or referring to appropriate references may be helpful in interpreting reflectivity measurements accurately.
- 1Reflectivity meter FAQ
- 2One article takes you to know glossiness, reflectance and fog shadow
- 3Nano Waterborne Solar Thermal reflection Coatings
孙仕梅,于清章,闫秀英 - 《中国涂料》
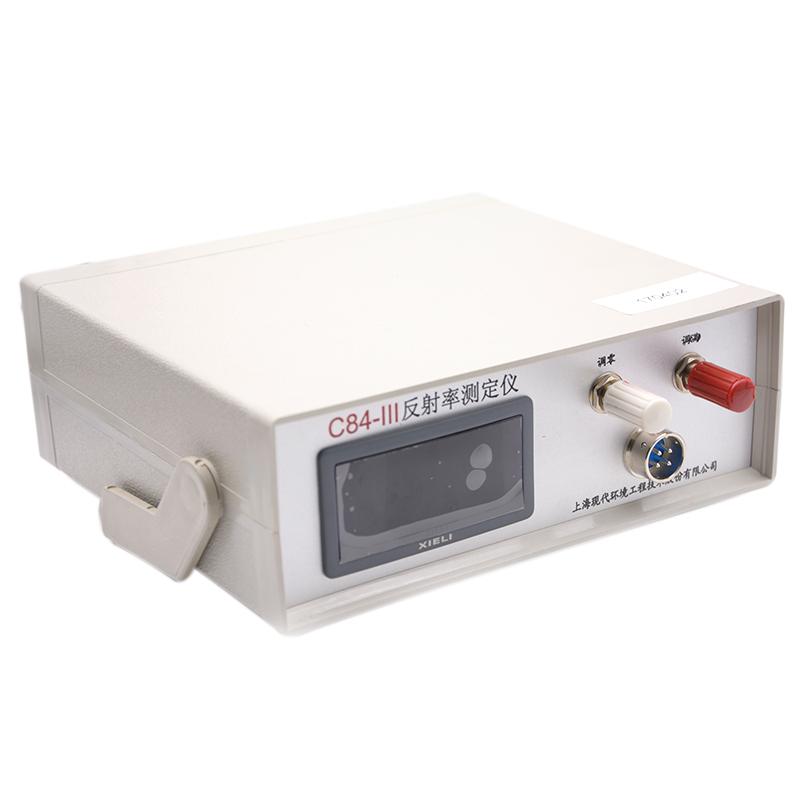
- 4Modern environment C84-III reflectivity meter operating instructions
- 5Determination of film covering power by reflectivity meter
- 6Coating covering power measurement for painting mass evaluation
- 7Reflectivity meter calibrating method
夏铭;袁海林;余培瑛
- 8Introduction to Optical Properties Test Method of Coatings
伍文君;熊喜竹;刘丽莉 - 《电镀与涂饰》
- 9What is achromatic (colorless)
-
![QILI MN-B reflection blackness meter]() QILI MN-B reflection blackness meter$ 525.00
QILI MN-B reflection blackness meter$ 525.00 -
![AMITTARI ARM-216 hiding ratio 450nm Light source reflectance meter]()
-
![QILI SMN-R full intelligent reflectance instrument/hiding power instrument]()
-
![AMITTARI ARM-216 reflectance coating Measurement Instrument measurement aperture 7 * 14mm]()
-
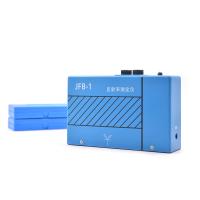
![PUSHEN JFB-I portable reflectivity meter reflectance range 0-100]()
-
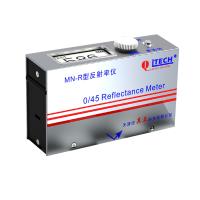
![QILI MN-R (paints, Coating hiding power) reflectance instrument]()