How to use the Scratch Tester for Scratch Testing
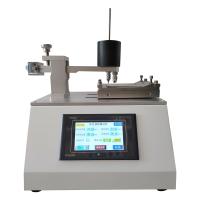
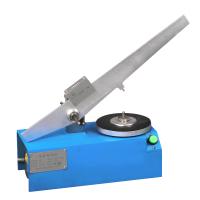
The scratch Tester is mainly used for the scratch resistance test of wooden floors, and is generally used in production or laboratories. This article mainly introduces the method of scratch test by scratch Tester .
1. Sample preparation
1. If there are no seams between each individual top layer strip of the test panel face section, choose a flat and no-knot location on the floor.
2. The surface to be tested needs to be clean and smooth. If necessary, the sample can be cleaned several times with a soft cloth and alcohol before and during the test.
3. Put the sample flat on a solid surface to make it level to prevent the sample from moving during the test.
2. Operation of scratch Tester
1. Loosen the locking screw at the top of the housing (see picture) until it is out of contact with the instrument body
CAUTION: There are cutters protruding from the bottom of the instrument case!
2. Carefully place the scratch Tester on the sample to be tested, press the Tester with a medium force, and set its test force ( eg
Note: The preset 6-7N is the result of calibration, which is completely normal!
3. Slide the scratch Tester forward uninterruptedly, without inclination during the sliding process and along the straight line texture (see picture), and the sliding length must be more than .
You can use the guide rod as a reference when sliding.
4. Increase the test power by 5 Newtons (press and stabilize the scratch Tester!), and perform the second test next to the first test at a distance of at least 5 mm.
5. Repeat the fourth step until the surface layer of the sample is damaged during the test.
Can be referred to as damage: white cracks or surface scratches (partial or total) with a minimum total length of 2-3 mm;
Dents or changes of this type in gloss should not be considered damage if there is no change in color (white).
6. Then continue the test, reducing its test force by 1 Newton each time (press down on the scratch Tester).
7. Repeat this until no more damage occurs.
8. The final setting value is the result of the scratch resistance test of this sample.
- 1What is the principle of scratch testing?
- 2Two Different Test Methods for Scratch Hardness Test of Paint Film
- 3How to test the scratch resistance of coats
Tom Mastrangelo
- 4Scratch Tester Operation Application Guide