Elcometer108 Pull Adhesion Instrument Operation Guide
1. Bonded Dolly
1) Determine the test surface of the forging die (as shown below)

2) Make sure that the glue left by the test before the test surface of the forging die has been removed;
3) Use a solvent to remove the oil stains on the test surface of the forging die and the sample test area;
4) Apply a thin and flat adhesive layer on the test surface of the forging die;
5) Press the forging die on the sample for about 10 seconds, do not touch the forging die after releasing it, wait at least 15 minutes (recommended more than 2 hours) to let the glue harden naturally;
2. Preparing for the test
1) Turn the handle counterclockwise until all pressure is fully released.
2) Pull up the connecting sleeve and insert the needle bar into the center of the forging die. Release the connecting sleeve to make the measuring instrument tightly connected with the forging die. If necessary, remove excess adhesive from the center of the dolly with a dolly tool (see photo below).

3) Return the instrument to zero
Mechanical type: Turn the lever indicator on the pressure gauge to the "0" scale;
Digital display type: Press the switch key to turn on the machine, then turn the handle counterclockwise to release the pressure completely, press the "MAX" key to reset the instrument to zero and record the maximum tension value during the test. If you need to keep the maximum value on the display, you should press the "MAX" key again before doing the pull test, the instrument will display MAXMPA or MAXPSI, and this function will also be closed after the instrument is turned off.
Note: When the instrument displays "RLOCK", it means that the zero reset of the instrument has failed, which is caused by the pressure not being fully released. At this time, the handle needs to be rotated counterclockwise to the bottom, and then press the "MAX" key to return to zero.
3. Pull-out test
1) Turn the handle clockwise at a constant speed to increase the pressure slowly and steadily. If doing a destructive test, turn the handle until the dolly breaks away. If it is a non-destructive test, turn the handle until the minimum specified pressure value. Try to complete the test in less than 90 seconds, which meets some adhesion testing standards.
2) Record test results
3) Return the instrument to zero
Mechanical type: Turn the handle counterclockwise to release the pressure completely, and pull the adhesIon Meter back to zero;
Digital display: turn the handle counterclockwise to release the pressure completely, press the "MAX" button to turn off the maximum value hold function, press the "MAX" button again to reset the instrument to zero and open the maximum value hold function.
- 1Elcometer 456 Coating Thickness Gauge
- 2Elcometer 355 Coating Thickness Gauge Iron and non-iron based probe selection table
- 3Adhesion Control of Ship Corrosion Coatings
- 4British Elcometer Elcometer 106 Pull-out Adhesion Tester Operation Method
- 5British Elcometer Elcometer 456 series Coating Thickness Gauge selection guide
- 6Adhesion of film and its test standard
郑国娟 - 《漆膜附着力及其测试标准》
-
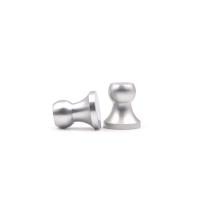
![Pushen 20mm spindle]() Pushen 20mm spindle$ 75.00
Pushen 20mm spindle$ 75.00 -
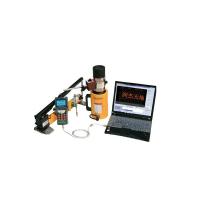
![Pushen PS 2658 Pull-out adhesion Tester]() Pushen PS 2658 Pull-out adhesion Tester$ 1112.00
Pushen PS 2658 Pull-out adhesion Tester$ 1112.00 -
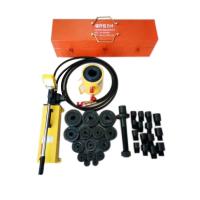
![Runjie RJYL-60 bolt comprehensive parameter Tester, used with Bolt TensIon Meter]()
-
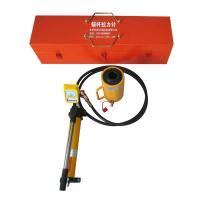
![Runjie RJ-100 Bolt TensIon Meter, catenary embedded rod drawing Tester, pulling force 1000kN]()
-
![Runjie RJ-50 Anchor TensIon Meter, pulling force range 0~500kN]()
-
![Runjie RJ-30 Anchor TensIon Meter, pulling force range 0~300kN]()