WFJ 7200 Visible Spectrophotometer Operating Procedure
1. Connect the power cord of the instrument to ensure that the power supply of the instrument has good grounding performance.
2. Turn on the power and let the instrument warm up for 20 minutes. (not including instrument self-test time)
3. Use the <MODE> key to set the test mode: transmittance (T), absorbance (A), known standard sample concentration (C) and known standard sample slope (F).
4. Use the wavelength selection knob to set the analysis wavelength you need.
5. Pour the reference sample solution and the tested solution into the cuvettes respectively, open the cover of the sample chamber, and insert the cuvettes containing the solutions into the cuvette grooves respectively. The paired cuvette will affect the test accuracy of the sample. There should be no fingerprints or traces of the solution on the surface of the light-transmitting part of the cuvette, and there should be no air bubbles or suspended solids in the solution to be tested, otherwise the accuracy of the sample test will be affected.
6. Put the 0%T calibration tool (black body) into the optical path, press the "0%T" key in the T mode, and the display will display "000.0"
7. Push (pull) the reference sample into the optical path, press the "0A/100%T" key to adjust 0A/100%T, at this time the display or "0.000" up to A.
8. When the display of the instrument shows "100.0"%T or "0.000"A, push (pull) the sample to be tested into the optical path, and then you can get the transmittance or absorbance of the sample to be tested from the display.

- 1Application of Flame Atomic Absorption Spectrophotometry in Detection of Food Talc Powder
- 2Talking about the performance test of epoxy resin film coated on PET
- 3Spectrophotometer principle, structure and application do you know geometry?
- 4Principle, characteristics and application of ultraviolet Spectrophotometer
- 5Spectrophotometer Color Measurement Fundamentals
- 6Differences between visible, ultraviolet-visible, infrared, fluorescent and atomic absorption Spectrophotometer s
- 7Detection of nicotine content by Spectrophotometer
- 8How to detect the color difference of fluorescent color-changing materials?
- 9Liquid color difference detection solution
-
![YueFeng 752N Ultraviolet-visible Spectrophotometer]()
-
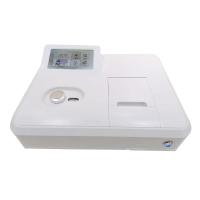
![YueFeng 721 Single beam of light Visible Spectrophotometer Test Transmittance/Absorbance]()
-
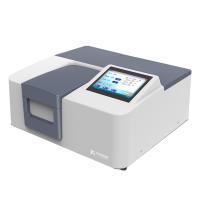
![JINGHUA H300 Dual beam of light Spectrophotometer Wavelength range 190nm-1100nm]()
-
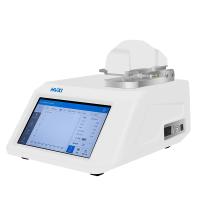
![HUXI Nano-900 UV-Visible, ultra-micro Spectrophotometer Light spectrum instrument]()
-
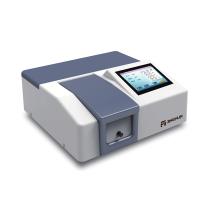
![JINGHUA JH752 Benchtop UV-Visible Spectrophotometer Bandwidth 4nm]()
-
![YUEFENG FP6428 Flame photometer Na/Ca]() YUEFENG FP6428 Flame photometer Na/Ca$ 1450.00
YUEFENG FP6428 Flame photometer Na/Ca$ 1450.00