YTH Series Paper Film thickness Tester operating instructions
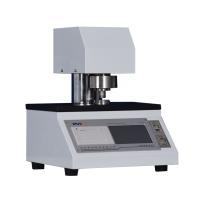
YTH series paper thickness measuring instrument is a special instrument for measuring the thickness of paper and cardboard. It is suitable measuring the thickness of various papers below 4mm , and can be widely used for measuring the thickness of paper and other sheet materials.
Operation Guide
1\ Zero adjustment
The instrument is placed on a vibration-free level surface. Correctly install the digital dial gauge (dial gauge)/pointer dial gauge on the instrument. Note: the gauge needs to be fixed firmly on the mounting base.
When there is no sample, the digital dial indicator (dial indicator) performs system zeroing according to "Zero" on the meter (zeroing is not necessarily at the absolute zero point of the meter, but can be at any position within the measurement range);
When there is no sample, rotate the outer ring on the dial to carry out system zero adjustment (zero adjustment is not necessarily at the absolute zero point of the meter, but can be at any position within the measurement range).
2\ Measurement operation
Press the lift lever with the right hand to raise the measuring head. Put the sample between the measuring surfaces, slowly loosen the lever so that the measuring head is lightly pressed on the sample (to avoid impact), and then read visually after the indicated value is stable (about 2~5s).
Each measurement point is measured only once.
If the layered thickness is measured by placing a multi-layer sample, the layered thickness is divided by the number of layers to obtain the thickness of a single layer.
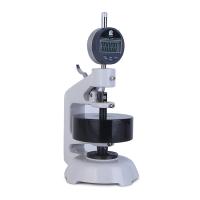
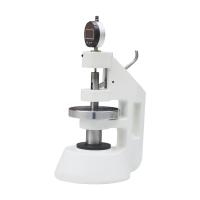
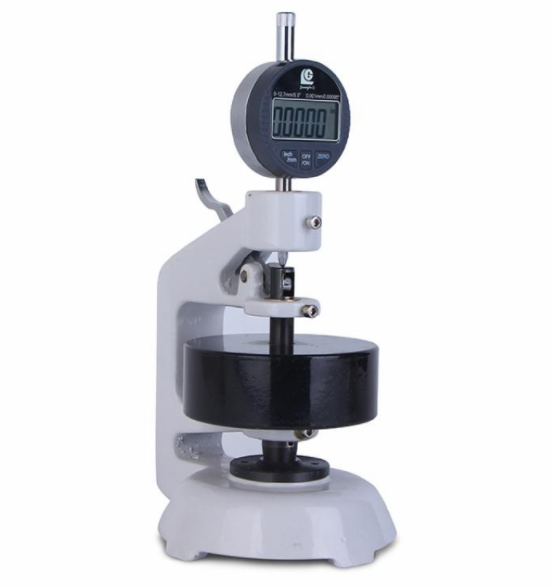
3\Installation diagram
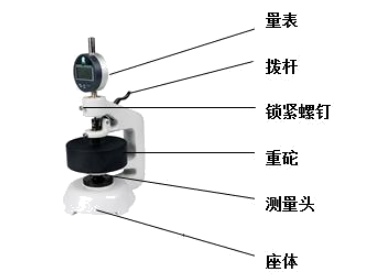
Take out the gauge from the watch box, install it on the main body of the instrument, and carry out the pointer-to-zero operation, the method is as follows:
a. Loosen the locking screw and install the gauge;
b. Adjust the position of the scale up and down, so that the size and pointer are all zero (press the ZERO key to zero the digital meter);
c. Tighten the locking screw, pay attention to the appropriate degree of tightness, if it is too loose, the position of the gauge will be unstable, and if it is too tight, the movement flexibility of the measuring rod of the gauge will be affected.
maintenance
After the digital dial indicator (dial indicator) is measured, the LCD will automatically go out after a period of time. After a long time, if the LCD does not display, it means that the battery power supply is insufficient (the meter uses a button battery), turn the front shell (There is a knurled part), and the battery mount will appear, just replace it with a new one.
Precautions
a. The moving speed of the measuring rod of the indicator shall not be greater than 0.5m/s.
b. The indicator is a precision measuring tool, and it should be prevented from being hit or dropped during use, so as not to lose accuracy.
c. It should be kept clean to prevent water and other liquid substances from seeping into the indicator meter so as not to affect normal use.
d. When the data output port cannot be used, do not remove the output port cover, and do not touch the output port with any metal device, so as not to damage the electronic circuit.
e. Do not apply voltage to any part of the indicator, and do not engrave characters with a pen, so as not to damage the electronic circuit.
f. When not in use for a long time (such as 1 month), the battery in the indicator should be taken out.