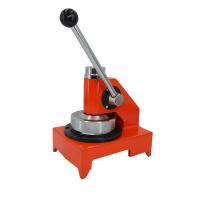
YT-DL125 Kebo Sampler Operation Manual
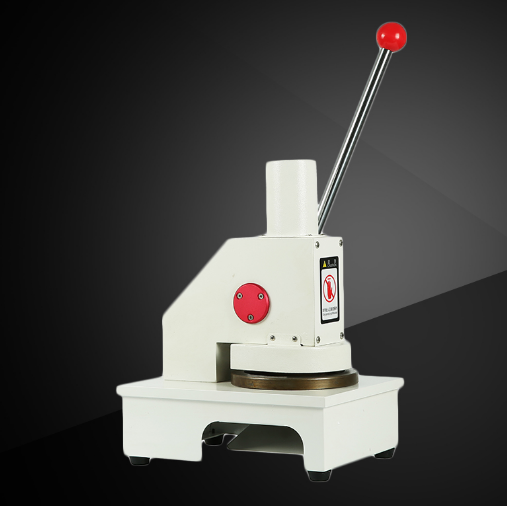
operation method
1. Preparation before sampling
1.1 Place the sampler on a flat and stable workbench.
1.2 Remove the anti-rust oil and dust deposits from all parts.
2. Trial cutting
2.1 Slowly press the operating handle, do a short cut test, and check whether the upper and lower knives have bitten. After repeated air-cutting tests, after confirming that the upper and lower knives have no jamming or gnawing phenomenon, the sample can be taken for trial cutting.
2.2 Take a paper sample with a thickness of (0.15-0.25) mm, place it on the lower knife surface, press the handle for a trial cut, take out the sample from the side of the base, and observe the cut. If the cut is neat and free of burrs, it can be used normally.
3. Sampling
According to the thickness of the sample, determine the number of layers for one punching. The table below shows the recommended number of die-cut layers for common paper patterns.
Single layer thickness (mm) | 0.008 | 0.05 | 0.02 | 0.4 |
Die-cut layers (layers) | >20 | >2 | >5 | ≤2 |
3.2 Place the flat, non-indented sample on the lower knife, and quickly press the operating handle.
Precautions
1) If the strength of the sample is too low, it is easy to cause the punched out sample to be irregular due to the drooping of the middle part. middle sample.
2) If you find the phenomenon of "gnawing the knife", do not press down forcibly, so as not to damage the knife edge.
3) During use, it is strictly forbidden to put your hands between the upper and lower blades of the sampler to prevent injury.
4) It is strictly forbidden to cut any metal objects and other high-strength materials, so as not to damage the cutting edge surface or cause loosening and dislocation of the upper and lower knives.
5) When not in use for a long time, apply anti-rust grease to the moving parts and the upper and lower cutter bodies.
- 1Briefly describe how different industries view product packaging
- 2Sample collection and temperature and humidity pretreatment methods for paper and cardboard
- 3YT-H152 Ring Pressure Sampler Operation Manual
- 4YT-TD23 stiffness Sampler instruction manual