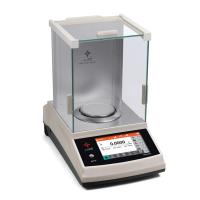
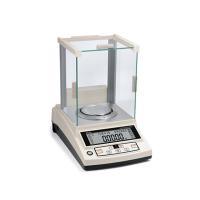
Huazhi F series analytical balance precision balance installation instructions
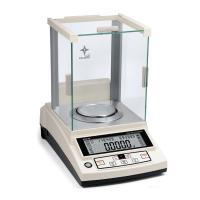
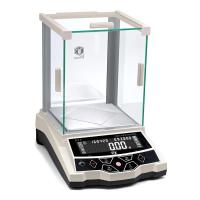
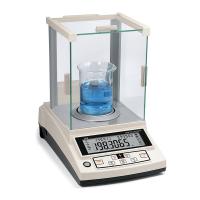
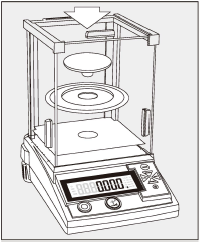 | Assembly balance Balances with draft shield Assemble the components in the following order: . shielding ring Mount the weighing pan on the balance cone |
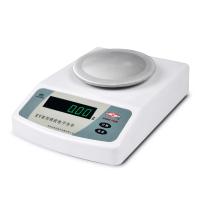
 | Balance with round weighing pan Mount the weighing pan on the balance cone |
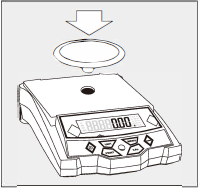
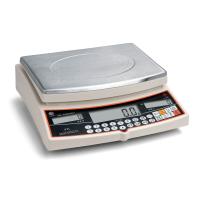
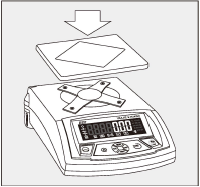 | Balances with rectangular weighing pan Mount the weighing pan on the balance stand |
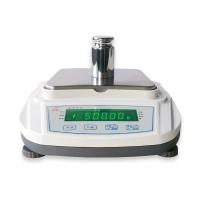
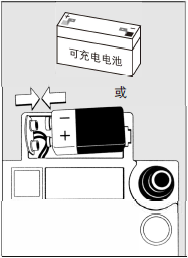 | Using dry batteries/rechargeable batteries (only for optional balances) Dry batteries or rechargeable batteries are not included in the scope of delivery Only 9V dry batteries or rechargeable batteries commonly used in the market can be used Only use an external charger to charge the rechargeable battery. Place the balance on its side. Open the battery cover Insert 9V dry cell or rechargeable battery Make sure the positive and negative poles of the battery are installed correctly Used dry or rechargeable batteries are special waste (not household waste). According to the Garbage Disposal Act, rechargeable batteries Pools are to be recycled as special waste and treated specially. Close the battery compartment, press the battery compartment cover down and tighten the screws |
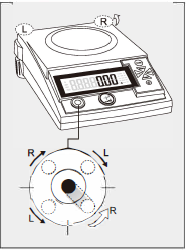 | adjust the balance Every time the balance position is changed, the balance must be re-leveled. Leveling the balance requires only the rear two cellar bolts. will be the latter two. To level the balance, just use the two rear anchor screws and the anchor bolts to rotate counterclockwise into place as shown in the figure. Rotate the rear anchor bolts until the air bubble in the level is exactly in the center of the ring. Turn the last two anchor bolts clockwise to the supporting surface. Often times, the leveling procedure will need to be repeated several times. |


- 1Correct correction method of thousand electronic precision balance [including video demonstration]
- 2How does the analytical balance work?
- 3Offset printing ink laboratory performance testing instrument scheme
- 4Construction and use of electro-optic analytical balance
- 5How should the calibration weights of precision balances be handled and maintained?
- 6How to calibrate a digital scale?
- 7How do university labs properly use analytical scales?
- 8Edham Adam Luna series electronic analytical balance models
- 9Yueping JA series electronic precision balance operation instructions