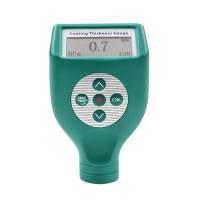
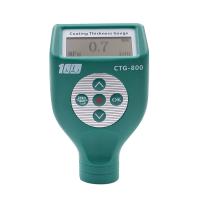
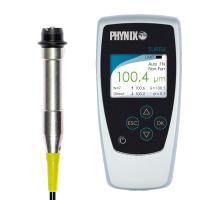
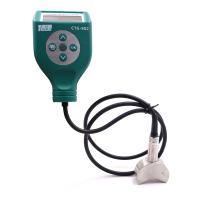
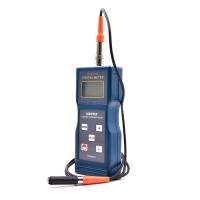
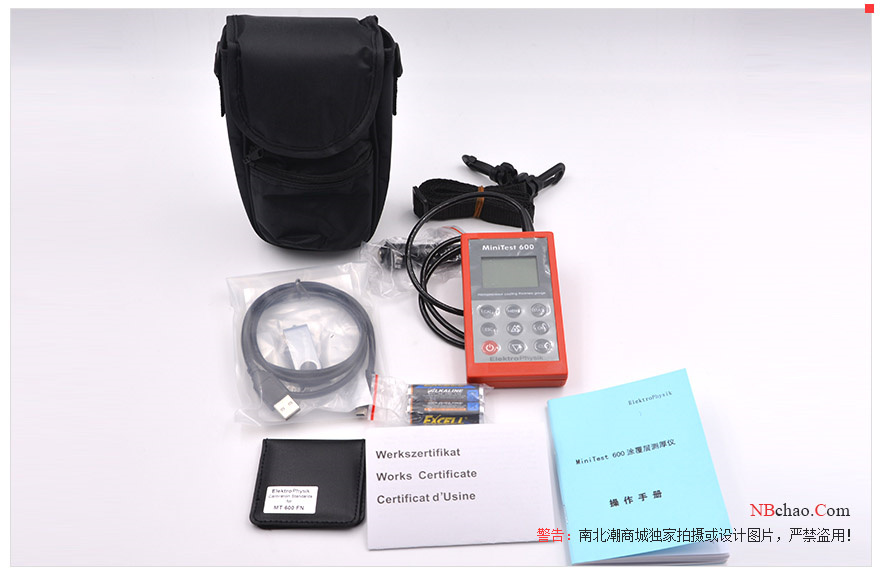
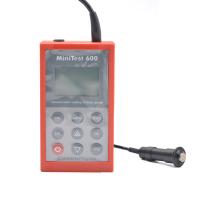
German EPK MiniTest600B Coating Thickness Gauge how to calibrate?
MiniTest600 series provides a variety of calibration methods to meet various applications and industrial standards. If a batch group is created, you can select a suitable calibration method for this batch group. In measurement mode, you can calibrate immediately after creating the batch, or you can calibrate at a later time. Press the function key CAL to call up the calibration function in the measurement mode.
Calibration must be performed within the currently active batch group and is directly related to the batch group.
In order to ensure a more appropriate calibration, we should pay attention to the following issues:
Proper calibration is very important for accurate measurements. The sample used for calibration should have the same shape as the actual workpiece to be measured. In principle, the more consistent the sample used for calibration and the actual workpiece to be measured, the more accurate the calibration and the more accurate the measurement reading.
Make sure that the sample used for calibration has the same characteristics as the actual part being measured, for example:
- the same radius of curvature
——The same substrate (for example, they all have the same magnetic permeability, electrical conductivity; the most satisfactory state is that they are all the same material)
- the same substrate thickness
——The size of the measurement area is consistent
●Before starting the calibration, make sure the calibration area, probe and zero plate are clean. Impurities on any surface may affect the accuracy and stability of the calibration.
● Make sure that the calibration area is the same as the actual measured area, especially when measuring small workpieces or corners of workpieces.
● Keep away from strong magnetic fields during calibration.
The thickness of the standard foil selected during calibration should be as consistent as possible with the coating thickness of the actual workpiece to be measured
● If using standard foils, make sure they are laid flat on the substrate. Gaps between the standard foil and the substrate should be .
Please note:
If the power is turned off , the previous calibration process will continue after the battery is replaced.
2. Calibration method
Depending on your task setup, you may use different calibration methods. Measurement accuracy depends on the calibration method you choose.
2.1 One-point calibration (only zero point calibration)
"Z" is displayed in the status bar
Calibration point: zero point (directly on the substrate)
Calibration is only performed on uncoated samples. Calibration is performed at only one point on the substrate , known as zeroing.
Zero calibration is suitable for quick calibration and only needs medium precision.
2.2 Two-point calibration
" Z 1" is displayed in the status bar
Calibration points: zero point (directly on substrate) and one slice
standard foil
Calibration is performed on uncoated samples. The first is a zero point calibration, and then a standard foil is placed on the sample for calibration.
Compared with zero-point calibration, two-point calibration means higher accuracy . Accuracy will be higher if the thickness of the standard foil is similar to the actual coating thickness being measured.
3. How to calibrate
In the measurement mode, press the function key CAL to enter the calibration mode.
3.1 Calibrate the FN probe
If the measurement method "AUTO-F/N" has been set in a batch group, you can calibrate for ferrous and non-ferrous bases. The calibration procedure will be performed twice. You need to select the substrate to be calibrated first, use the up and down keys to select the substrate, and press the OK key to confirm. After the calibration is completed, you need to select the next substrate to be calibrated, use the up and down keys to select the substrate, and press the OK key to confirm. After this, you will again be asked to choose a substrate. If you have completed the calibration for both substrates, you can press the ESC key to exit the calibration. At this point, the instrument will return to measurement mode.
3.2 One-point calibration (only zero point calibration)
Press the CAL key to initiate calibration and place the probe on the uncoated sample. Lift the probe when you hear the "beep" sound.
Repeat this operation 3-10 times on the same measurement point, and the average value will be displayed on the screen. Accuracy will increase with the number of measurements. Press OK to confirm zero point calibration. Press the OK button again to confirm the completion of the calibration procedure.
At this point the instrument will ask you to calibrate on the first standard foil. Press OK to skip this step.
3.3 Two-point calibration
First complete the zero point calibration according to the prompts.
Afterwards, follow the prompts to place a piece of standard foil on the sample, and then measure with the probe. When you hear the "beep" sound, lift the probe, repeat the measurement at the same point 3-10 times, and the average value will be displayed on the screen.
If the thickness value measured at this time is inconsistent with the thickness value of the standard foil, use the up and down keys to adjust the value to be consistent with the thickness value of the standard foil.
Press the OK key to store the calibration value, and press the OK key again to complete the calibration.
A directory listing will show which points you have calibrated. Press OK and you will return to measurement mode. During automatic F/N calibration you will return to substrate selection mode.


- 1Nondestructive measurement Coating thickness
- 2Principle, application and selection of traffic coatings Coating Thickness Gauge
- 3Principle, Application and Selection of Eddy current Coating Thickness Gauge
- 4Principle, Application and Type Selection of Electronic Coating Thickness Gauge
- 5Explore the principle, application and selection of phosphating layer Coating Thickness Gauge
- 6Principle, Application and Type Selection Analysis of Chrome Coating Thickness Gauge
- 7Principle, Application and Selection of Coating Thickness Gauge for inner wall of small pipe
- 8Basic principle and application scenario of steel Coating Thickness Gauge
- 9Principle and Application Analysis of Coating Thickness Gauge