Installation Steps for Digital Viscometer
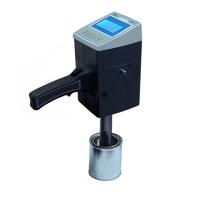
Digital viscometer is an intelligent liquid viscosity measuring instrument. Under the control of computer program, the measurement of liquid viscosity is automatically completed, and the result is output by the display screen. The instrument uses a microcomputer to control the speed of the stepping motor and the entire measurement process. This not only makes the rotating speed of the instrument continuously adjustable, but also improves its precision. Therefore, the instrument has the characteristics of compact structure, stable operation, high measurement accuracy and good anti-interference performance, and can be used to measure the viscous resistance and viscosity of liquids. Digital viscometers are widely used to measure the viscosity of various fluids such as oil, paint, food, medicine, adhesives, cosmetics, etc.
Installation steps and methods
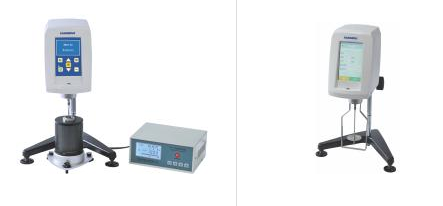
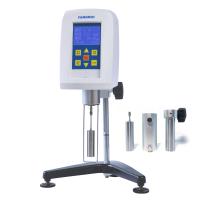
(1) After unpacking, take out and check the base, lifting frame and lifting mechanism, main engine, rotor frame, protective frame, special power adapter, wrench, etc. If you purchase related configuration parts, you should also check them at the same time. The aluminum alloy instrument case that is randomly configured and other special packaging should be properly preserved. In case of failure, when the product is returned to the manufacturer for maintenance, in order to avoid damage during transportation, the main engine, special power adapter and various rotors equipped with the machine should be properly placed in the above-mentioned special digital viscometer box (base and elevators do not have to return).
(2) Screw the lifting frame into the corresponding screw hole of the base according to the direction shown in the figure and tighten the fixing nut with a wrench.
(3) Turn the lifting knob, the lifting should be able to lift and be self-locking. If it is too loose or too tight, you can use a screwdriver to adjust the adjusting screw so that it can rise and fall up and down and it is better to be tight to prevent the main unit from falling automatically after it is installed.
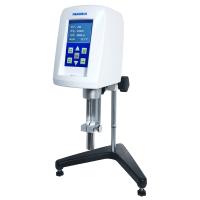
(4) Install the main unit of the digital viscometer on the lifting frame and tighten the fixing screws, and remove the shaft sheath on the plastic housing below the main unit. When the digital viscometer is not used for a long time or needs to be transported, be sure to cover the sheath again in place.
(5) Adjust the horizontal adjustment bolt on the base, and adjust the horizontal bubble on the top of the main unit of the digital viscometer to the center position. In order to prevent the base from sliding on the workbench, a high-density non-slip rubber pad can be placed under the three horizontal adjustment bolts.
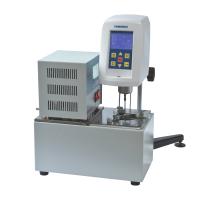
(6) If the RTD temperature probe is selected, it can be connected with the temperature probe interface provided at the same time.
(7) Insert the DC output end of the special power adapter that is randomly configured into the power interface on the rear side of the host, and the AC power plug at the other end into the (110-240V50-60Hz) power socket. After the connection is correct, turn on the power switch on the rear side of the host.


- 1Digital viscometer maintenance learn these ten tips!
- 2How to install Shanghai Nirun DV-79 digital viscometer correctly?
- 3How to install and use Nirun digital viscometer DV data collection and program-controlled analysis software?
- 4Fangrui SNB/NDJ digital viscometer operation interface description and operation method
- 5Application of Digital Viscometer in Yogurt
- 6How Digital Viscometers Work
- 7NDJ-5 (8) SB Digital Viscometer User Manual