Stormer Viscometer Instructions for Use
Preparation before operation
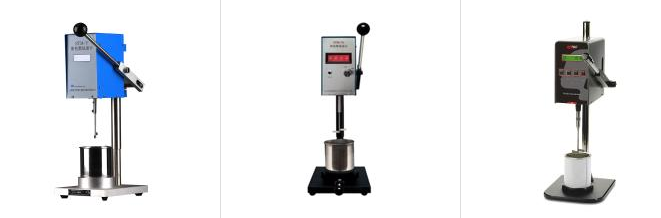
Take the Stormer Viscometer out of the box and place it on a firm and flat test bench.
Take out the stirring paddle from the accessory box, align a notch on the paddle shaft with the locking screw on the connecting sleeve and insert to the depth so that the screw can be screwed into the notch, and then tighten the locking screw.
Take out the material cup, material cup support, pad and lifting handle from the accessory box, install them in place as shown in the figure, and tighten the lifting handle.
Take out the power cord from the accessory box and plug it into the power socket at the back of the instrument.
run the instrument
start up
Turn on the power switch at the back of the instrument, and the system will light up. The system starts self-inspection, and enters the standby state after the self-inspection is completed, the display shows "SELF", and the continuous display time of (stirring shaft rotation) is about 10s. (Note that do not perform any operation on the instrument at this time, the instrument ).
Test sample
Take out the material cup, pour the sample to be tested into the container that comes with the instrument, the liquid level is about 10mm away from the container mouth.
Put the container containing the sample to be tested on the container seat, and select the measurement unit ("KU" means to display the KU value of the sample to be tested; "gm" means to display the load value). Press down the lifting handle on the right side so that the engraved line on the stirring paddle coincides with the liquid surface, and then the stirring paddle starts to rotate after being immersed in the sample to be tested .
After a few seconds, the screen will display the viscosity value of the tested sample; at this time, it can be read. (The sample to be tested needs to be stirred for a few seconds to reach a dynamic equilibrium. The data displayed at this time can be considered accurate. The instrument will always display "----" before the data is displayed)
During the test, care should be taken to hold the lifting handle by hand to ensure that the liquid level coincides with the engraved line on the stirring blade (1mm error is allowed).
The instrument's internal control program contains a special algorithm, which can not only display the current viscosity value of the tested sample in real time, but also filter out the value jump caused by external interference (1% FSC variation is allowed).
Run Pause/Continue
After the instrument is tested, it needs to stop, just lift the lifting handle, the stirring blades stop rotating, and the instrument automatically enters the standby state. If you need to test again, just press the lifting handle again.
Emergency situations
In case of emergency (for example, the stirring blades are not rotating, but there is an abnormal noise in the main machine) and it is necessary to stop the machine, you can directly turn off the power switch of the machine, and then contact the manufacturer immediately.
other
There is a HOLD switch outside the instrument, if the switch is turned on (down), the data of the sample to be tested can be kept unchanged, and different measurement units can be selected for conversion for recording. The instrument has the function of holding memory. When you want to retrieve the previous measurement data after turning off the hold switch, just turn on the hold switch to retrieve it. If there is re-measurement, the hold switch needs to be closed (up).
The "measurement unit selection switch" of this instrument has 5 gears. Viewed from the clockwise rotation direction, the first gear is ku, the second gear is gm, the third , and the fourth gear is the standard oil calibration gear. The fifth file is the g value calibration file. Under normal circumstances, users only use the first and second gears to measure data. The third, fourth, and fifth gears are only for factory debugging and calibration. When the third gear is turned to the third gear, the instrument will emit a warning sound and the shaft will stop running.


- 1Stormer Viscometer (KU): Accurate measurement and multi-domain applications
- 2Determination of viscosity of architectural coatings: application of the Stormer Viscometer method
- 3How to ensure accurate Stormer Viscometer measurements? with calibration method
- 4Fangresstomer viscometer installation operation demonstration video
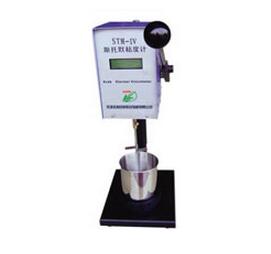
- 5Puxen STM-V Stormer Viscometer Beauty Appreciation
- 6Determination of paint viscosity
- 7List of commonly used testing instruments in laboratories of latex paint manufacturers
- 8Selection scheme of common performance testing instruments for architectural paints
- 9Effect of Synthetic Polymer Thickener on Viscosity of Styrene Acrylic Latex Paint
梅燕 - 《华南理工大学 化学工程》
-
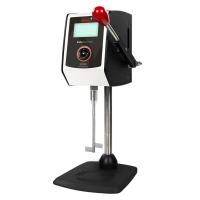
![TRUIT TR 1123/1 Coating Stormer Viscometer KU/cP/g Unit]()
-
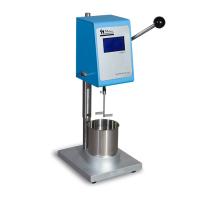
![TQC Sheen DV2300 Krebs Viscometer Stormer Viscometer Coating KU Viscometer]()
-
![FANGRUI STM-2T Stormer Viscometer with PT100 temperature probe]()
-
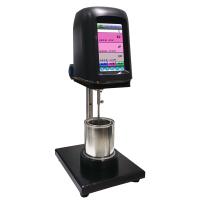
![MODERNER STM-VII Digital Stormer Viscometer]()
-
![NIRUN STM-2T Digital Stormer Viscometer Coating paints inks]()
-
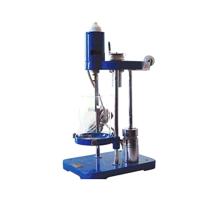
![JFL QNZ Stormer Viscometer]() JFL QNZ Stormer Viscometer$ 518.00
JFL QNZ Stormer Viscometer$ 518.00