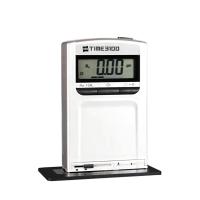
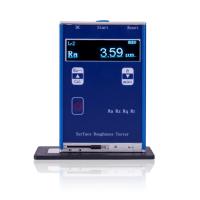
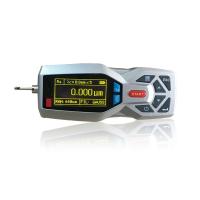
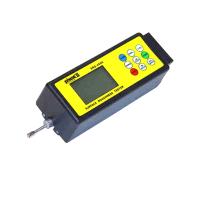
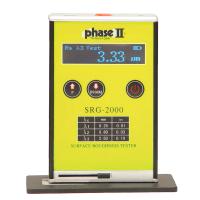
What are the surface finish measurement tools?
A comparator is an instrument used to make precise optical measurements of small features, dents and scratches on flat surfaces. The instrument is placed on top of the area to be measured, the appropriate scale is selected (for example, linear, circular or radial), and the measurement is read from the display. The device needs to be calibrated for each available scale. These require different calibration procedures.

calibration
Proper calibration of the linear scale setting should result in a range between 0.0 and 0.8 inches, and an accuracy of plus or minus 0.005 inches. A properly calibrated circular scale setting should have a range of 0.0 to 0.25 inches and an accuracy of plus or minus 0.0025 inches. Finally, proper calibration of the radius scale setting should result in a range of 0.0625 to 0.375 inches, with a range of plus or minus 0.0025 inches.
linear scale
First, modify the bench micrometer so that the first major part of the device's analog scale coincides with the vertical line on the comparator screen. Next, compare the device's analog reading to the digital reading on the comparator. Modify the bench micrometer until subsequent divisions agree with the vertical line and comparator reading.
round scale
Modify the comparator table so that the left side of the inner diameter of the circle being measured coincides with the vertical line on the comparator screen. Using the micrometer tip on the bench, change the bench so that the right side of the circle coincides with the vertical line on the screen. Compare the device's analog reading with the digital reading on the comparator. If the readings match, the circular scale calibration process is complete.
radius scale
Modify the comparator's table so that the radius of the analog instrument coincides with the reference line on the comparator's digital readout. Set the digital readout to zero. Modify the micrometer tip so that the right side of the radius coincides with the reference line on the comparator digital readout. Compare the device's analog reading with the digital reading on the comparator. If they match, the radius scale calibration process was performed successfully.
