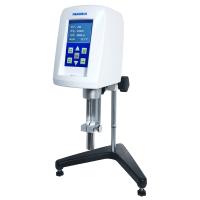
Fangrui SNB-1A/NDJ-1C viscometer rotor installation specific steps
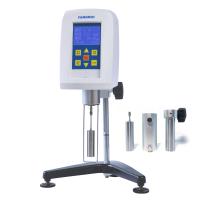
⑴ Viscometer rotor components are composed of a fixed ring, a test cylinder, a metal connecting piece, an extension hook, a fixing screw and four rotors No. 21, 27, 28 and 29, as shown in Figure 7.
⑵ Prepare the sample to be tested and control the temperature of the liquid to be tested if possible. Pour an appropriate amount (see Table 1 below) of the tested sample into the test cylinder according to the selected rotor .
⑶ As shown in Figure 8, screw the rotor extension hook clockwise into the universal joint, and select the rotor to be used hang it on. Note: When loading and unloading the rotor extension hook, it is necessary to lift the universal head up slightly to prevent damage to rotating shaft tip.

⑷ Put the test tube into the fixing ring, and tighten the screws on the side of the fixing ring.
⑸ Use fixing screws to fix the installed fixing ring and the metal connecting piece.
⑹ Fix the installed metal connecting piece and the lower cover of the main body of the viscometer with fixing screws, and the installed parts are shown in the figure.
⑺ Adjust the immersion depth of the rotor so that the liquid level is just equal to the "liquid level mark" of the rotor. The liquid level mark is based on the uppermost end of the cone of the rotor.
⑻ Adjust the level of the instrument again so that the water bubble is in the middle.
⑼ Select and confirm the appropriate speed and press the start button to directly test the viscosity value.


- 1Viscosity of polypropylene (PP) amide measured by NDJ Viscometer
- 2Which Viscometer to Choose for Licorice Extract Viscosity Testing? How to Test?
- 3Application of Rotational Viscometer in juice viscosity test
- 4Working Principle, Classification and Application of Capillary Viscometer
- 5Principle, Characteristics and Application of Dial Viscometer
- 6Basic Principle and Application of Ceramic Viscometer
- 7Principle, Characteristics and Application of QND Viscometer
- 8Determination of epoxy resin viscosity by Rotational Viscometer
- 9Rotational viscometer selection suggestions


