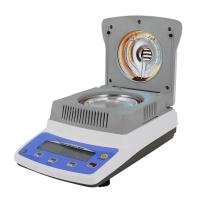
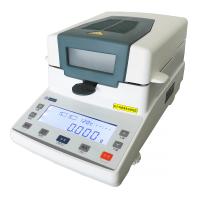
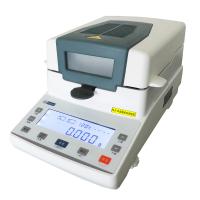
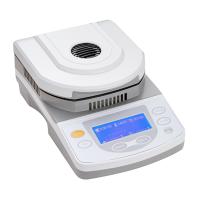
Jingqi DHS Halogen Moisture Meter Operation Manual
4.1 Precautions (related to measurement accuracy)
4.1.1 As a precision analysis instrument, the Moisture Meter should be operated carefully by the user, and the sample to be tested should be spread evenly on the weighing pan.
4.1.2 A typical sample should be 3g-5g, and the weight should be tare before weighing
4.1.3 Please set the heating parameters (heating temperature, knot mode) before weighing the sample
4.1.4 In order to ensure the accuracy of the test, the sample is preferably in a powder state. The sample with large particles should be crushed with a pulverizer first
4.1.5 In order to measure correctly, the second use should wait for the Moisture Meter to cool down to 50°C before use

4.2 The switch of the Moisture Meter
4.2.1 In the off state, touch the screen, start the Moisture Meter, and perform a self- After the self-test is completed, enter the main interface
4.3 Operation of Moisture Meter
4.3.1 Weight Calibration
The Moisture Meter can be calibrated with external calibration weights. In order to improve and ensure the accuracy of weighing data, weight calibration should be carried out before the first weighing or precision is required. The weight calibration steps are as follows: Please open the upper cover when calibrating.
a. Clean the sample tray, put the sample tray in place, touch the weight calibration to enter the calibration interface
b. Touch the calibration key to start weight calibration.
C. Put the weight to be loaded into the sample tray as prompted by the touch screen, and close the cover to display that the calibration is complete. Please remove the weight and remove the weight. (If it does not return to zero, then repeat the above operation to calibrate the weight
4.3.2 Clock Calibration
When the time and date deviate and need to be reset, the steps to set the time and date are as follows
a. Touch the clock calibration key on the main interface to enter the clock interface.
b. Touch the calibration key to pop up the clock setting interface. After setting the current date and time, touch the confirmation key to return to the clock interface. Setup succeeded.
4.3.3 Timed drying
Timed drying means that the drying ends when the preset drying time is reached.
a. On the main interface, touch the timer drying key to enter the timer drying interface.
b. When the drying temperature needs to be modified, touch the display box of the drying temperature, and the temperature setting interface pops up, set the drying temperature, touch the OK button, and return to the timing drying interface.
C. When you need to modify the drying time, touch the display box of the drying time, and the interface for setting the drying time will pop up , set the drying time, touch the confirmation key, and return to the timing drying interface.
d. After putting on the empty tray, if the weight is not zero, touch the tare button to set the weight to zero. After the weight is zero, put 3-5 grams of sample on it. After the weight is stable, touch the drying start button, and the lamp will turn on. Lights up, starts drying, and enters the drying interface. e. On the drying interface, you can see the temperature in the Moisture Meter cavity, sample weight , and heating time . Touch the conversion key to check the water loss rate, drying rate, and Moisture regain, wet weight rate Touch the emergency stop button to stop drying immediately.
f. When the drying time reaches the set drying time, the Moisture Meter will stop drying.
Enter the drying time result viewing interface. Can display 9 kinds of water measurement parameters.
a. Sample weight g
b. Dry weight g
C. Heating time (min; sec)
d. Drying temperature
e. Ending method
f. Water loss rate (ie water content) = (Gg)/G
g, drying rate = g/G
h. Moisture regain = (Gg)/G Wet weight rate = G/g
4.3.4 Automatic drying
Automatic drying means that when the weight of the sample is no longer down, the drying will end.
In addition to automatic drying without drying time, other operations and timing drying sample operations.


- 1Halogen Moisture Meter comprehensive analysis: types, application scenarios and scientific selection methods
- 2Principle and application of electronic halogen moisture Tester
- 3Difference between Halogen Moisture Meter and Karl Fischer Moisture Titrator
- 4Knowing Halogen Moisture Meter, reading this is enough
- 5Halogen Moisture Meter common faults and solutions
- 6What is the difference between a Moisture Meter halogen lamp and an infrared lamp?
- 7What is the difference between a halogen Moisture Meter and an infrared Moisture Meter?
- 8What is the difference between halogen and infrared Moisture Meters?
- 9Application of Halogen Moisture Meter in Quality Control of Grain and Flour