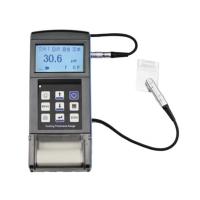
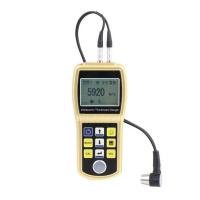
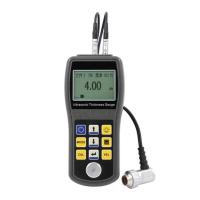
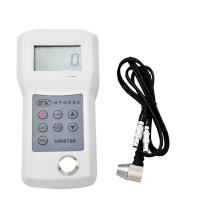
How to use an ultrasonic Thickness Gauge?
Working principle of ultrasonic Thickness Gauge
Ultrasonic Thickness Gauge mainly adopts the principle of ultrasonic pulse reflection method to measure the thickness of materials and objects conveniently and quickly, so as to realize the basic thickness measurement function.
Application of Ultrasonic Thickness Gauge
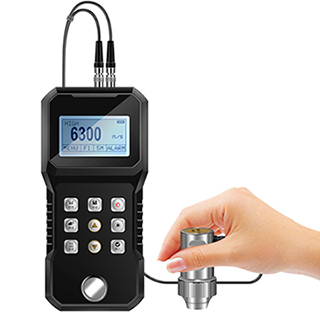
Ultrasonic Thickness Gauges are mainly used to detect hard materials (steel plates, glass, etc.). But soft materials (such as sofas, sponges, etc.) cannot be measured with a ut Thickness Gauge. In addition, when testing the thickness of the material, attention should be paid to the sound velocity of the material being tested. Different materials have different speeds of sound.
Ultrasonic Thickness Gauges can be used to measure the accuracy and thickness of various plates and various processed parts, and can also be used to monitor various pipes and pressure vessels in production equipment. It can be used to monitor the degree of thinning after corrosion during use. Therefore, the ultrasonic Thickness Gauge can be widely used in petroleum, metallurgy, chemical industry, shipbuilding, aviation and other fields.
Four measurement methods of ultrasonic Thickness Gauge
General measurement method: It is necessary to use the probe to perform two thickness measurements at one point. The interfaces of the ultrasonic Thickness Gauge probes should be at 90° to each other during the two measurements. The smaller value is the thickness of the workpiece being measured.
30mm multi-point measurement method: When the measured value is unstable, it is necessary to take the measurement point as the center and perform multiple measurements on a circle with a diameter of about 30mm. The minimum value is the thickness of the workpiece to be measured.
Accurate measurement method: It is necessary to increase the number of measurements around the specified measurement point. Thickness variations are represented by contour lines.
Continuous measurement method: It is required to use single-point measurement method to measure continuously along the specified route, and the interval is not greater than 5mm.
Grid measurement method: This method refers to drawing a grid in a specified area and recording the thickness point by point. This solution is widely used in corrosion monitoring of high pressure equipment and stainless steel linings.
Ultrasonic Thickness Gauge measurement
Investigate the site, understand and master the basic data such as the surface conditions, pipe diameters, and original wall thicknesses of the on-site facilities.
Workers need to wear special work clothes, insulated shoes, protective gloves and other labor protection products that meet professional protection requirements. If there are serious rust layers, attachments, paint peeling, sharp particles, etc. on the surface of the thickness measurement part, it needs to be cleaned and polished until it is clean and smooth. It is necessary to uniformly number the thickness measurement parts and spray the measurement point marks on the surface of the on-site facilities.
The temperature of the plumbing facility needs to be checked. Thickness measurements at high temperature inspection points require the use of high temperature measurement probes. So when you buy a Thickness Gauge from Tool.com, you should also choose the right probe for your needs.
Wear a protective face mask in areas with hazardous gases. When the height of on-site operation exceeds the safety regulations, scaffolding should be set up, and the staff should fasten their safety belts.
Measurement correction. There are two methods of calibration: one is to calibrate with a standard test block, and the other is to calibrate by setting the sound velocity. Standard test block calibration: single point calibration. Calibration in this mode can only be performed when the 2-PT (double point) mode is "OFF", that is, press the "MODE" key until "THK" is displayed. Press the "CAL/ON" key, "CAL" starts flashing. During this time, it is necessary to couple the probe with a calibration reference block. When the coupling light is on, the reading is stable. At this point, the displayed value may not match the known thickness of the calibration block. At this point, the probe can remain coupled and the probe can be removed. Use ▲ and ▼ to adjust the displayed value to match the thickness of the calibration test block. Then press the "CAL/ON" key again to complete the calibration.
- 1Principle, Function, Application and Selection of Multifunctional Ultrasonic Thickness Gauge
- 2Principle, Application and Type Selection of Ultrasonic Thickness Gauge
- 3Principle, Application and Type Selection of Ultrasonic Thickness Gauge
- 4Principle, Application and Selection of Ceramic Ultrasonic Thickness Gauge
- 5The Principle, Application and Precautions of Copper Plate Ultrasonic Thickness Gauge
- 6Principle and Application of Ultrasonic Thickness Gauge
- 7Measurement principle and influencing factors of high temperature ultrasonic Thickness Gauge
- 8Principle of Portable Ultrasonic Thickness Gauge
- 9How does an ultrasonic Thickness Gauge work?
