6 Tips for Using a Hardness Tester
1. The Hardness Tester itself will produce two kinds of errors: one is the error caused by the deformation and movement of its parts; the other is the error caused by the hardness parameter exceeding the specified standard. For the second type of error, the Hardness Tester needs to be calibrated with a standard block before measurement. For the calibration results of the Rockwell Hardness Tester, the difference is within ±1.
Each scale of Rockwell hardness has a practical application range, which should be correctly selected according to the regulations. For example, when the hardness is higher than HRB100, the HRC scale should be used for testing; when the hardness is lower than HRC20, the HRB scale should be used for testing. Due to the poor accuracy and sensitivity of the Hardness Tester, when the Hardness Tester exceeds its specified test range, the hardness value is inaccurate, so it is not suitable for use.
Other hardness test methods also specify corresponding calibration standards. Standard blocks used to calibrate Hardness Testers cannot be used on both sides because the hardness of the surface and back of the standard may not be the same. It is generally stipulated that the standard block is valid for one year from the date of calibration.
2. When replacing the indenter or anvil, pay attention to cleaning the contact parts. After replacement, use a steel sample with a certain hardness to conduct multiple tests until the hardness values obtained twice in a row are the same. The purpose is to press the contact part of the indenter or anvil and the testing machine tightly to make good contact so as not to affect the accuracy of the test results.
3. After the Hardness Tester is adjusted, the first test point is not used when starting to measure the hardness. Measurements were inaccurate due to concerns about poor contact between the sample and the anvil. After the first test is completed, the Hardness Tester is in the normal operating mechanism state, and then the sample is formally tested, and the measured hardness value is recorded.
4. When the test piece allows, generally choose different parts to test at least three hardness values, take the average value, and take the average value as the hardness value of the test piece.
5. For samples with complex shapes, gaskets of corresponding shapes should be used, and the test can be carried out after being fixed. Round specimens are usually placed in a V-groove for testing.
6. Before loading, check whether the loading and unloading handle is placed in the unloading position. When loading, the action should be light and stable, and do not use excessive force. After loading, the loading handle should be placed in the unloading position to prevent the instrument from being in the loading state for a long time, causing plastic deformation and affecting the measurement accuracy.
-
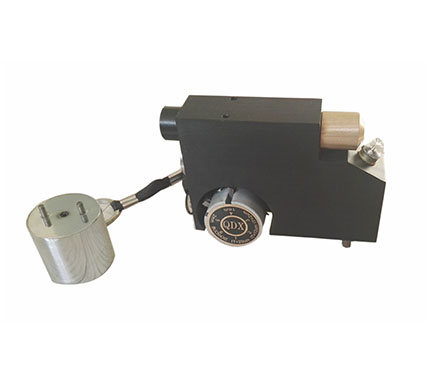
![YONGLIDA Glass plate QBY Pendulum Hardness Tester accessories]()
-
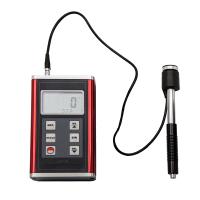
![Leeb Hardness Tester DHT-400Dplus]() Leeb Hardness Tester DHT-400Dplus$ 1938.00
Leeb Hardness Tester DHT-400Dplus$ 1938.00 -
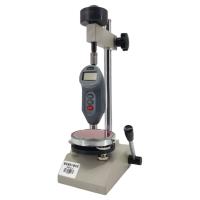
![Leeb Hardness Tester DHT-400D Deguang Electronics]()
-
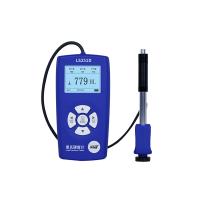
![Leeb Hardness Tester DHT-200D Deguang Electronics]()
-
![Leeb Hardness Tester DHT-100Dplus]() Leeb Hardness Tester DHT-100Dplus$ 1312.00
Leeb Hardness Tester DHT-100Dplus$ 1312.00 -
![SADT HARTIP1600 Leeb Hardness Tester]()
-
![SADT HTP1700 Leeb Hardness Tester]()
-
![SADT HARTIP1800 Leeb Hardness Tester +/- 0.3% @HL]()
-
![SADT HTP1900 Pen Leeb Hardness Tester G type]()


- 1Frequently Asked Questions about Hardness Testers in 2022
- 2Test method for roll hardness
- 3How many Hardness Testers do you know?
- 4ASTM D2240 Rubber Properties, Hardness Testing
- 5ASTM D2240 Rubber Properties, Hardness Tester Hardness Testing
- 6What are the test subjects for perchlorovinyl resin anti-corrosion coatings?
- 7Controlling Variables Affecting Screen Printing Ink Deposition
- 8The principle and subdivision type of Vickers Hardness Tester
- 9Requirements for the hardness of the scraper plate and testing equipment