The correct operation method of the two-dimensional imager [including video explanation]
overview
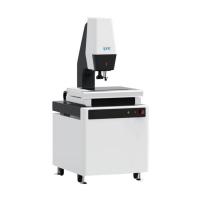
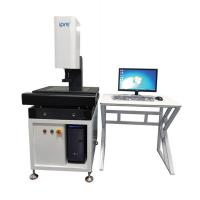
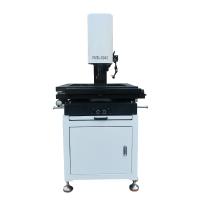
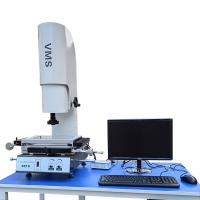
The two-dimensional image measuring instrument is mainly used for the detection, positioning, evaluation and diagnosis of various defects (pores, inclusions, welds, cracks, etc.) inside the workpiece. It can be used in laboratories and engineering sites. Using digital measurement methods, the shape of the measured object is converted to the computer through image acquisition, and the size of the object is measured using professional measurement software, while the traditional projector measures the object through optical projection magnification.
Features
Z axis: focus adjustment
X axis: move left and right
Y axis: move forward and backward
POWER: the main power of the whole machine
CONTOVR: bottom light switch
SURFACE: surface switch
Calibration sheet: adjust the magnification of automatic measurement
Software interface: image recognition area, measurement image area, commands, measurement data
Video explanation
The tutorial video on the correct operation method of the two-dimensional imager is as follows:


