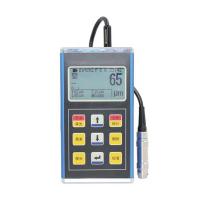
IWAVE WH-82 Coating Thickness Gauge magnetic and eddy current
SE-
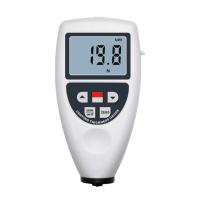
 IPRE CT400 magnetic Induction eddy Current Coating Thickness Gauge Measurement range 0~1500μm$ 256.00SE
 -
 AMITTARI AC-110A built-in thickness probe with resolution of 0.1 μm$ 344.00SE
 -
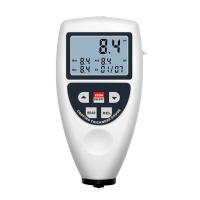
 Statistical Coating Thickness Gauge AMITTARI AC-110B Integrated Sensors can store 99 sets of thickness measurement data$ 510.00SE
 -
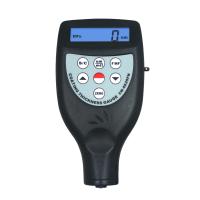
 LANDTEK CM8825Fn platings Thickness Measurement Instrument Dual function coating Thickness Measurement Instrument$ 389.00SE
 -
 LANDTEK CM8828 Film Thickness Gauge for automotive coatings$ 389.00SE
IWAVE WH82 Coating Thickness GaugeSPEC
IWAVE WH82 Coating Thickness GaugeDetails
IWAVE WH82 Coating Thickness GaugePacking list
- SKU
- NB001146
- Measurement principle
- Magnetic Induction + eddy Current
- Measurement range
- 0~1250μm
- margin of error
- ±3%
- Minimum measurement surface
- 10*10mm
- Minimum radius of curvature
- Convex 5mm; Concave 5mm
- thinnest substrate
- 0.4mm
- probe
- F and N integrated probe
- statistical function
- MAX Maximum, MIN Minimum, Average
- icon function
- without
- Power Supply
- 2 * AA battery
- Standards
- GB/T 4956-1985、GB/T 4957-1985、JB/T 8393-1996、JJG 889-95、JJG 818-93
- Calibrated Certificate
- without
- system language
- Chinese
- Display screen
- LCD screen
- supporting software
- without
- Machine Weight
- 115G (including battery)
- Machine size
- 110*65*30mm
- Unit display
- μm/mils
- Operating temperature
- 0~40℃
- Relative Humidity
- ≤85%RH
Introduction
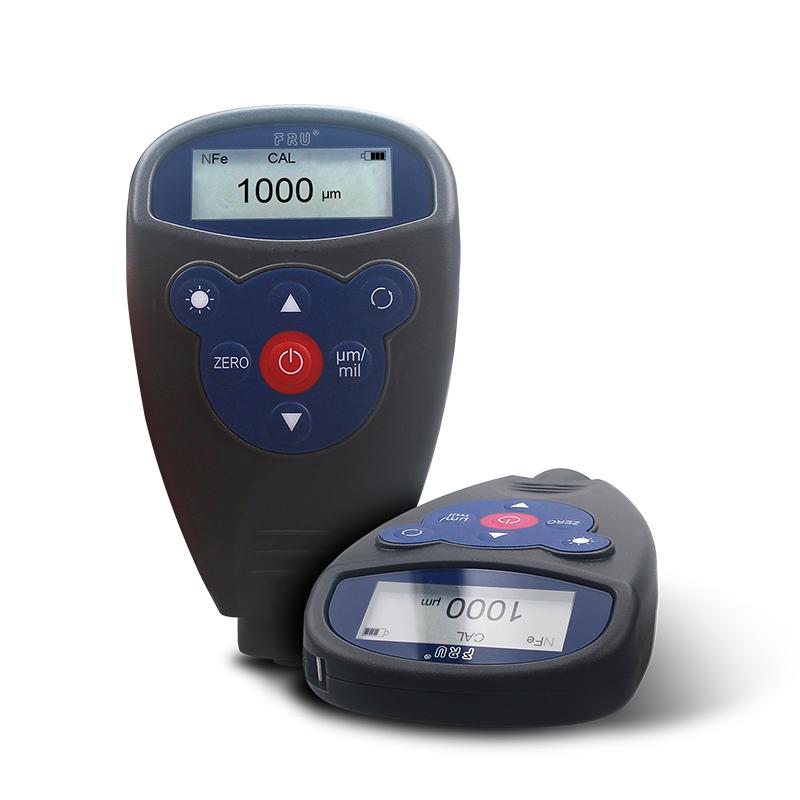
IWave coating Thickness Gauge WH-82 has two models: single iron base and iron and aluminum double base, which respectively use magnetic thickness measurement method and magnetic eddy current dual-purpose thickness measurement method, which can quickly and accurately detect the thickness of the coating without destructiveness, and the applicable thickness measurement range is 0~1250 microns. WH-82 coating Thickness Gauge is an all-in-one probe Thickness Gauge, small size, very easy to carry, can be used in the laboratory or engineering site, in the manufacturing industry, metal processing industry, automotive industry, chemical industry, commodity inspection and other fields are widely used, such as spraying, painting, oxide film, electroplating, etc. WH-82 (iron-aluminum double-base) coating Thickness Gauge conforms to GB/T 4956-1985, GB/T 4957-1985, JB/T 8393=1996, JJG 889-95, JJG 818-93 and other standards.
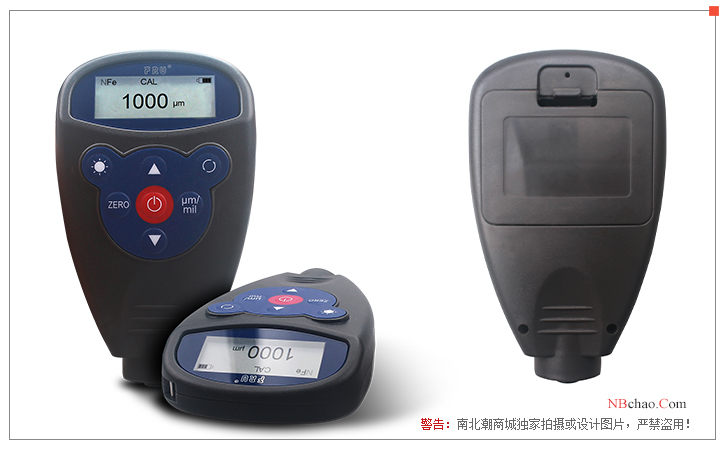
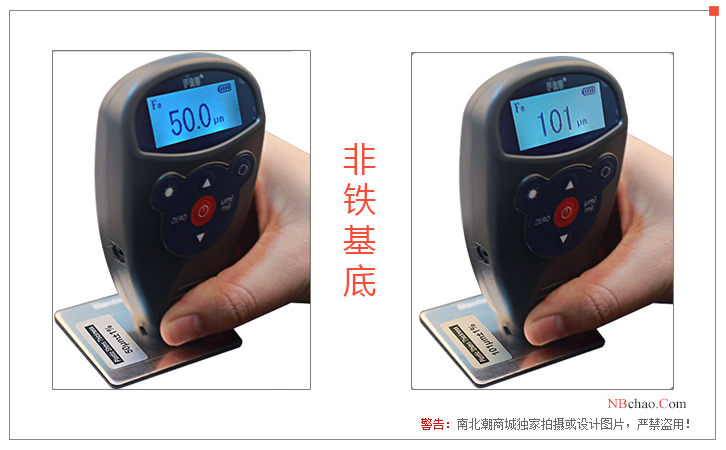
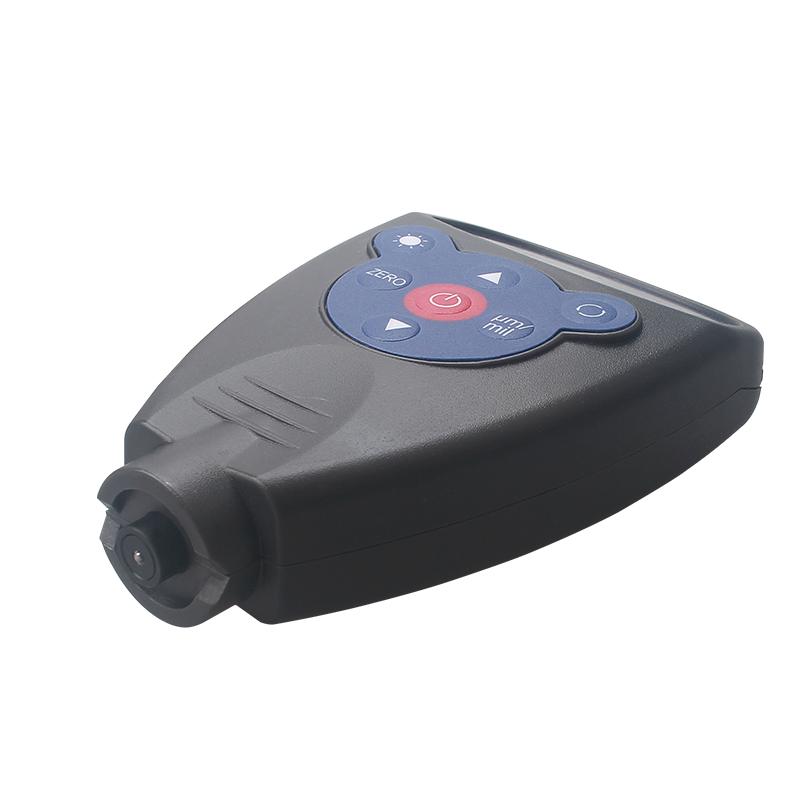
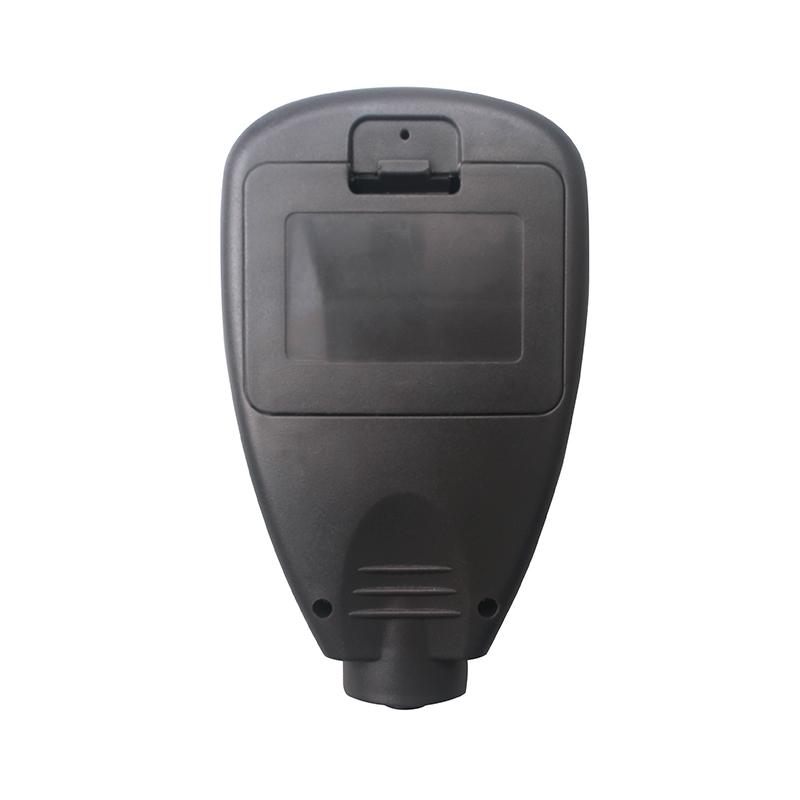
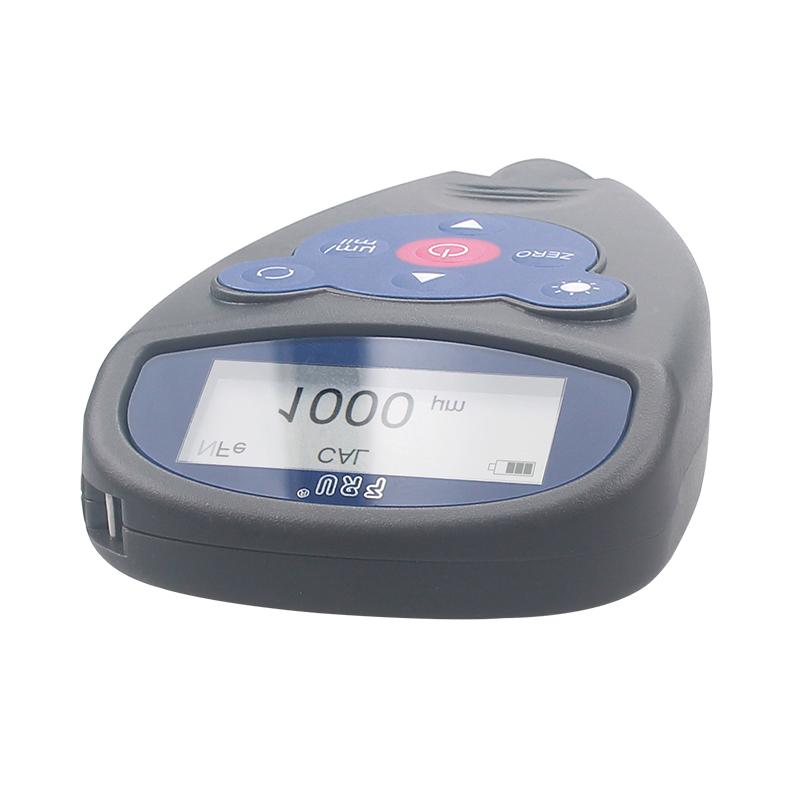
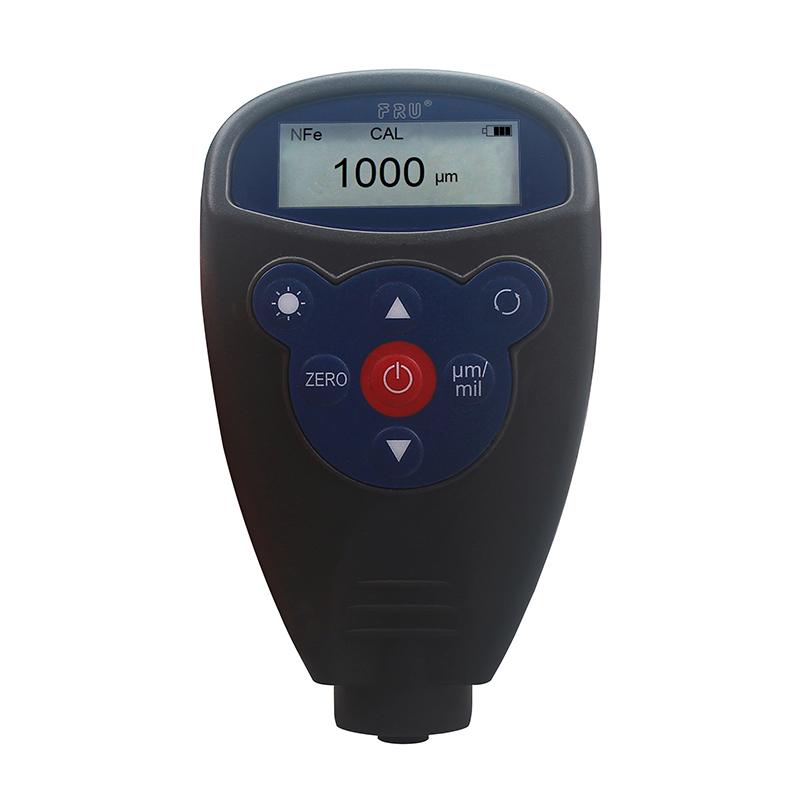
Actual picture of the product
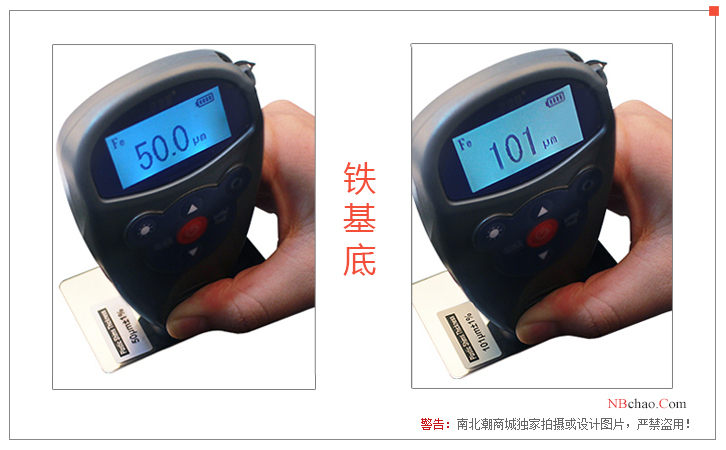
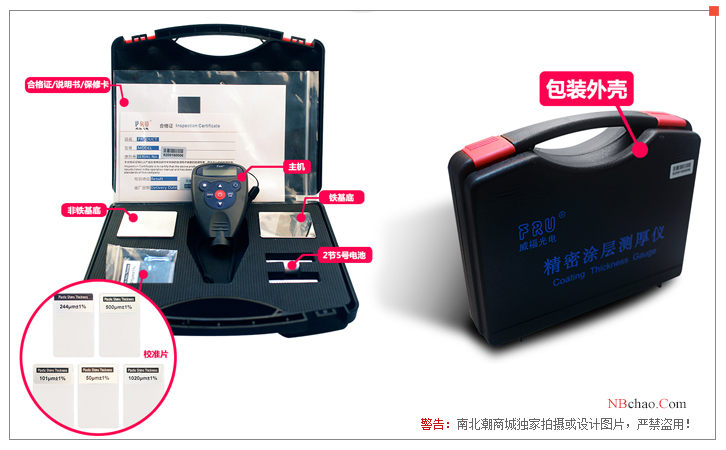
Features
1. The WH-82 coating Thickness Gauge adopts two thickness measurement methods: magnetic and eddy current, which can measure the thickness of the non-magnetic covering layer on the magnetic metal collective and the thickness of the non-conductive covering layer on the non-magnetic metal matrix.
2. The coating Thickness Gauge can be calibrated by two methods: single-point calibration and two-point calibrationWH-82 Coating Thickness GaugeCalibration is carried out, and the systematic error of the measuring head can be corrected by the basic calibration method to ensure that the instrument is in the measurement processWH-82 Coating Thickness Gaugeaccuracy;
3、It can quickly and automatically identify ferrous and non-ferrous substrates;
4、WH-82 Coating Thickness GaugeIt has the function of power supply under-Voltage indication;
5、There is a beep prompt during the operation;
6、There are two shutdown modes: manual shutdown mode and automatic shutdown mode;
7、There is a negative number display function, guaranteedWH-82 Coating Thickness Gaugecalibration accuracy at the zero site;
8、There is a function to display the average, maximum, and minimum values.
buttons and display instructions
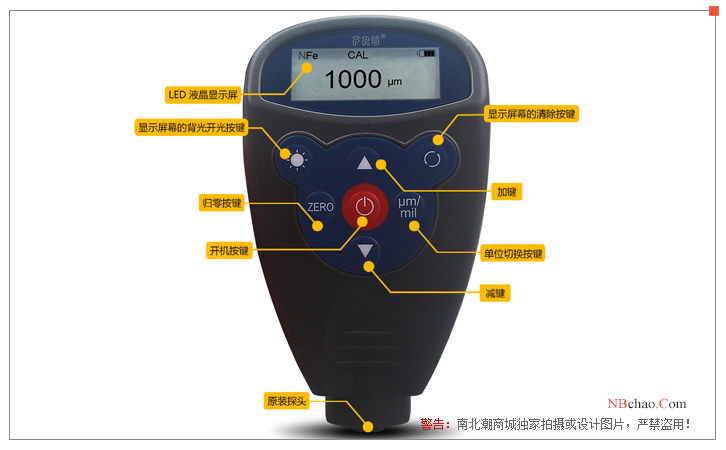
1) The operation panel of the WH-82 coating Thickness Gauge is a bear shape, and the buttons from left to right and top to bottom are as follows:
● "Sun Symbol": The backlit button that displays the screen ● Ring:Displays the clear button for the screen
● "Power Symbol": Power on button
● "ZERO": Reset button
● "μm/mil": unit switch button
● "▲" plus key, "▼"Subtract the key
2) Description of display parameters


Basic Edition: Enhanced Edition
●mm(mil) unit of measurement
●CAL calibration tips
●Fe indicates the measurement status of the magnetic substrate
NFe indicates the non-magnetic substrate measurement state
●1000 measurement thickness display area
●T010 represents the 10th measurement, AVG represents the average value of 10 measurements, MAX represents the maximum value in 10 measurements, MIN represents the minimum value in 10 measurements, and the average measurement can be up to 999 times;
● Power supply underVoltage prompt
How to use:
1) Power on
After pressing the "ON" button, the WH-82 coating Thickness Gauge will make a beep, which will automatically restore the parameter settings before the last shutdown, and display 0.0μm, indicating that the WH-82 coating Thickness Gauge has entered the pending state. Now it's time to measure the workpiece to be measured. If not used for a period of time, the WH-82 Coating Thickness Gauge will automatically shut down.
2) Shut down
Without any operation, the WH-82 Coating Thickness Gauge automatically shuts down after approximately 3 minutes. Press the "ON" button once to power off immediately.
3) Unit Conversion (Metric to Imperial Conversion)
In the pending state, the WH-82 coating Thickness Gauge unit is converted in μm/mil.
4) Measurement
a) Prepare the artifact to be tested
b) Determine if calibration of the WH-82 coating Thickness Gauge is required, and if so, select the appropriate calibration method to do so
c) Quickly put the measuring head perpendicular to the test surface and gently press the measuring head positioning sleeve, a beep, the screen displays the measured value, and the WH-82 coating Thickness Gauge will automatically sense the tested substrate: when it is a magnetic substrate, the WH-82 coating Thickness Gauge will show Fe, and when it is a non-magnetic metal, the WH-82 coating Thickness Gauge will show NFe. (Iron-aluminum bi-base type can be automatically recognized, single-iron-based type can only measure magnetic substrates)
Note: Keep the WH-82 Coating Thickness Gauge vertical while measuring. When the measuring head is lifted, the next coating measurement can be taken;
Troubleshooting methods
1) Replace the battery
If the WH-82 coating Thickness Gauge is not in use for more than 5 consecutive days, the battery should be removed. When the WH-82 coating Thickness Gauge has a low Voltage prompt, the battery should be replaced, and the polarity should be paid attention to when replacing the battery.
2) Factory reset
In the power-on state, press the button, ▲, ▲, ▼, ▼ in order within 2 seconds, and the screen will display an English dialogue asking whether to confirm the factory reset, to restore the factory settings, select "<Yes>" and press μm/mil to confirm.
3) Calibration correction of the measuring head
If there is a large error (such as: improper calibration or operation error, etc.), a six-point correction calibration can be made to calibrate the WH-82 coating Thickness Gauge.
- 1GB/T 44757-2024《Anodizing coating on titanium and titanium alloys》
- 2QJ 990.3A-2011《Inspection methods of coating.Part 3:Measurement of coating thickness》
- 3JJG 818-2018《Magnetic and Eddy Current M easuring I nstrument for Coating Thickness》
- 4GB/T 1727-2021《General methods for preparation of coating films》
- 5HG/T 20720-2020《Construction and acceptance specification of waterborne anti-corrosion coatings for steel structures in industrial buildings》
- 6HG/T 5367.1-2018《Coatings for rail transit vehicles - Part 1: Waterborne coatings》
- 7ASTM B244-2021《Standard Test Method for Measurement of Thickness of Anodic Coatings on Aluminum and of Other Nonconductive Coatings on Nonmagnetic Basis Metals with Eddy-Current Instruments》
- 8ASTM B499-2021《Standard Test Method for Measurement of Coating Thicknesses by the Magnetic Method: Nonmagnetic Coatings on Magnetic Basis Metals》
- 9 B530-2014《》
- 10ISO 2360-2017《Non-conductive coatings on non-magnetic electrically conductive base metals — Measurement of coating thickness — Amplitude-sensitive eddy-current method》
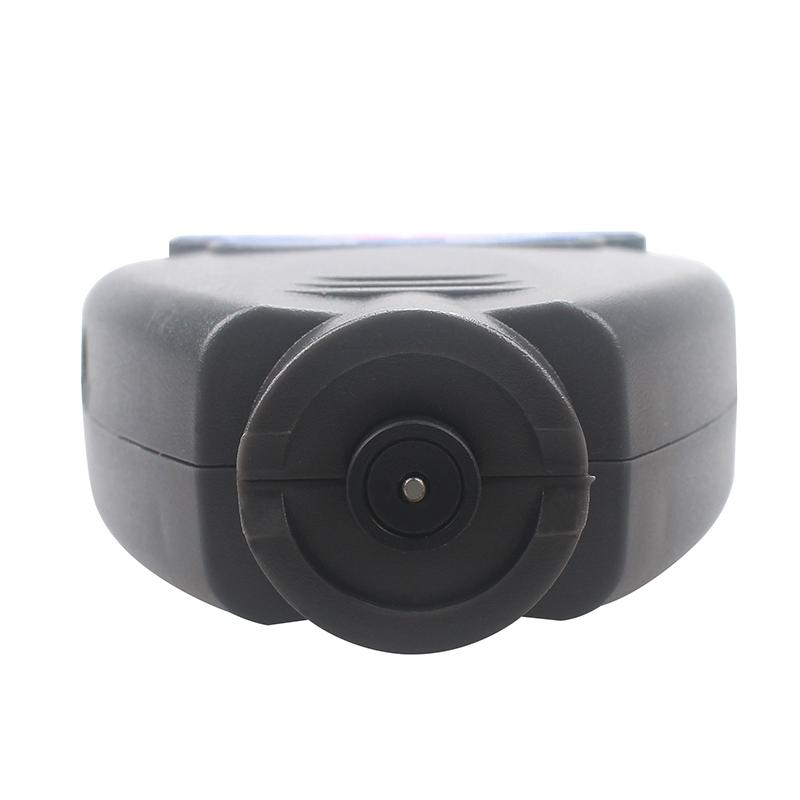
 WH82
WH82

