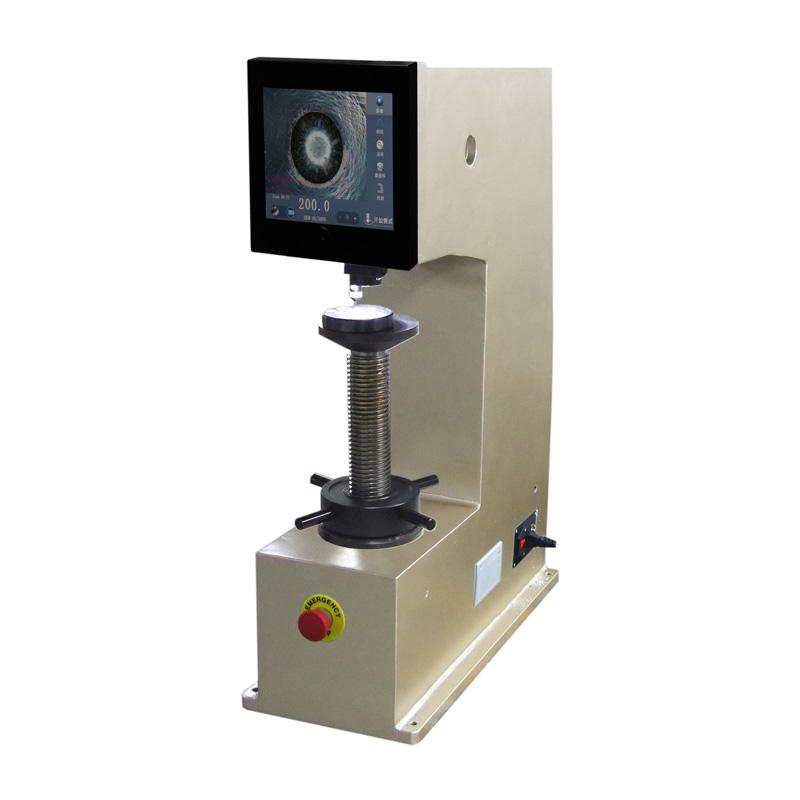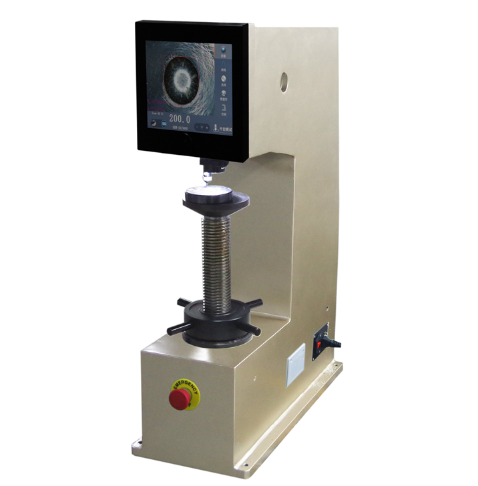
AOLONGXINGDI HBS-3000V-Z Automatic vision Brinell Hardness Tester 10 test forces
SEAoLongXingDi HBS-3000V-Z Brinell Hardness TesterSPEC
AoLongXingDi HBS-3000V-Z Brinell Hardness TesterDetails
AoLongXingDi HBS-3000V-Z Brinell Hardness TesterPacking list
- SKU
- NB017911
- Brinell scale
- HBW2.5/62.5、HBW2.5/187.5、HBW5/62.5、HBW5/125、HBW5/250、HBW5/750、HBW10/100、HBW10/125、HBW10/250、 HBW10/500、 HBW10/1000、HBW10/1500、HBW10/3000、
- Test force -kgf
- 62.5kgf、100kgf、125kgf、187.5kgf、250kgf、500kgf、750kgf、1000kgf、1500kgf、3000kgf
- Test force-N
- 612.9N、980.7N、1226N、1839N、2452N、4903N、7355N、9807N、14710N、29420N
- Measurement unit
- 1um
- Test force holding time
- 0~60s
- Objective lens and probe switching
- automatic
- Hardness testing range
- 8~650HBW
- Microscope magnification
- 20X
- Execution standards
- ISO 6506、ASTM E10-12、JIS Z2243、GB/T 231.2
- Hardness reading
- liquid crystal display
- Interface
- Built-in printer
- Power
- AC220+5%,50~60Hz
- Distance from the center of the indenter to the body
- 200mm
- Maximum height of specimen
- 270mm
- Host Weight
- 300kg

Introduction to vision chip technology
Embedded vision chip technology embeds the vision chip directly in the instrument control circuit board, and obtains images and measures directly through the operation of the motherboard. It no longer needs to be controlled through the Windows operating platform.
Shanghai Aolong Xingdi has used embedded vision chips to make preliminary attempts in the field of Hardness Testers, achieved initial results and applied for a national patent.

product description
"Aolongxin" visual Brinell Hardness Tester HBS-3000V is mainly used to measure the Brinell hardness of materials. Adopting a new frame structure design, a new "Aolongxin" operating system, and a more intuitive measurement method, it has a more stable structure, higher control accuracy, saves time and effort, and improves efficiency by an order of magnitude.
The visual Brinell Hardness Tester is mainly used to measure castings or forgings and some non-ferrous metals that have a crystalline structure and cannot be used for Rockwell measurement and Vickers testing. Therefore, the Brinell test is mainly used on large materials. By using different test forces and replacing different indenters, the Brinell test can basically be used for all metal materials.
The machine adopts electronic automatic loading, computer software programming, high-magnification optical measurement, photoelectric sensing and other systems. It is fed back by a high-precision pressure sensor and adopts high-precision step control technology to ensure that the test force is loaded without overshoot. The hardness value can be automatically calculated and displayed on the LCD, with accurate reading and easy operation.
Features
â High-precision step-controlled electric loading technology, the main test force loading speed is extremely fast and the efficiency is improved;
âNew mechanical structure design, sturdy frame structure;
âVideo real-time measurement, the effect is better, more accurate and more stable; the data of various operating processes and test results can be displayed on the screen;
âHigh-precision sensors combined with Aolongxin control system make loading and unloading speeds faster and more accurate;
âUsing unique embedded vision technology, the measurement operation is simple, greatly reducing human errors. You can learn to measure in five minutes, and the measurement results of different people are basically the same;
âRemote control can be realized and the operation is simple;
âThe intensity of the measurement light source can be adjusted through the screen;
âMeasurement of indentation is more stable;
âCan preset the test force and dwell time;
âExperimental result data can be output via printer;
âExtremely fast loading speed: test force loading time is 3.5-6 seconds;
âUltra-high test force accuracy: The test force loading and holding accuracy reaches 10,000 levels;
âIntelligent control of the entire process. Segmented force application, smooth speed change, high-precision high-speed step control, etc.;
âExperimental result data can be output via printer;
visual system point
âObjectivity: The visual system is objective and the analysis results are not affected by subjectivity;
âNon-contact measurement: It will not cause any harm to the observer and the person being observed. At the same time, you can "see" further by using the lens magnification function;
âSpectral response range: It has a wide spectral response range and expands the visual range of the human eye;
âUltra-long standby: It is difficult for the human eye to observe the same object for a long time, but the machine vision system can measure, record, analyze and respond for a long time;
âHigh grayscale resolution: the human eye generally has 64 grayscales, and machine vision can be as high as 256 grayscales;
âMeasurement and positioning: can automatically test the size of objects and automatically determine the position of objects for assembly and production of production lines;
âEmbedded imaging technology replaces traditional measurement eyepieces, using camera + display mode, indentation images, and display directly on the display;
âVisual chip type: CCD, CMOS, industrial-specific high-definition camera;
âContrast, brightness, white balance and other adjustments are all available;
âVisual analysis mode simplifies the manual operation process, reduces operator fatigue, and makes measurement data more intuitive and convenient;
âOptimizing every link, compared with the traditional Hardness Tester, the overall performance is improved by 300% and the time is saved by 50%;
Advantages of vision systems over eyepiece measurements
âMeasure directly on the surface that needs to be measured, there is no visual error. The traditional structure of the Hardness Tester uses an eyepiece for measurement. The scale line and the indentation are not on the same plane. Under different Viewing Angles, the scale position and the indentation position will produce visual differences, resulting in different measurement results from different Viewing Angles and different personnel;
âHigh measurement accuracy: There is no backlash problem of mechanical eyepieces. The scale resolution of the mechanical eyepiece spiral micrometer structure is about 10 μm, and there is mechanical hysteresis, so the measurement method needs to be strictly defined. The image sensor pixel spacing of the vision system is 7.5μm, with relatively high accuracy and good measurement consistency;
âIt can provide two-dimensional simultaneous measurement of multiple measurement methods, simplifying the measurement process and improving measurement speed. It has multiple measurement methods such as rectangular tangent measurement method, nested circle measurement method, nested double circle measurement method, etc.;
âNo visual fatigue, reducing measurement labor intensity. Aolong vision system uses a 65K true color TFT LCD, which makes observation comfortable and not tiring, and can be measured by multiple people at the same time;
- 1What is Brinell Hardness?
- 2Measurement principle of Rockwell hardness and Brinell hardness
- 3Hardness conversion methods such as Rockwell Hardness and Brinell Hardness
- 4What is the purpose of the Brinell Hardness Tester?
- 55 Ways to Measure Material Strength
- 6When to use Brinell and Rockwell hardness tests?
- 7Hardness testing of metal lame plating
- 8Which hardness test is suitable for stainless steel?
- 9How to test the hardness of copper?
 HBS-3000V-Z
