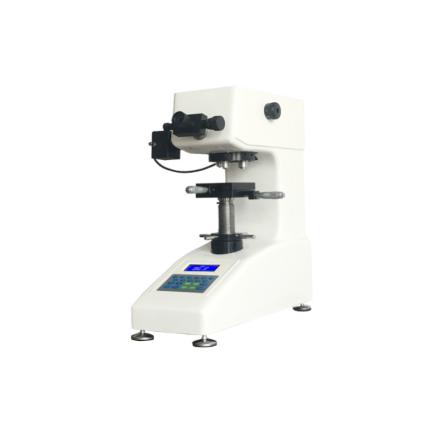
Specifications
| Measurement unit | 0.25μm |
| test force | 10gf (0.098N)、25gf (0.245N)、50gf (0.49N)、100gf (0.98N )、200gf (1.96N)、300gf (2.94N)、500gf (4.9N)、1000gf (9.8N) |
| Measurement range | 0-3000HV |
| Measurement Accuracy | Suitable for or higher than GB/T4340.2 |
| Total Magnification | 100X (observation,) 400X (measurement) |
| loading method | Automatic (loading, retaining, unloading) |
| Data output | LCD display readout |
| Load time | Adjustable in 5-60 seconds |
| instrument size | 405×290×480mm |
| instrument Weight | About 35Kg |
| Maximum height of specimen | 90mm |
| Distance from the center of the indenter to the inner wall | 120mm |
| Conversion ruler | HRA、HRB、HRC、HRD、HRE、HRG、HRF、HRK、HV、HK、HBS、HR15N、HR30N、HR45N、HR15T、HR30T、HR45T |
| Power Supply | AC220V±5%,50~60Hz |
| execution standard | GB/T4340.1, GB/T4340.2, IS06507-2, ASTM_E384 JJG151 verification procedures |
| X-Y Test Bench | Size: 100 × 100 mm, Maximum movement: 25 × 25mm, Minimum displacement: 0.01mm |
| Accessories | CCD camera measurement system, Knoop indenter, filament clamping table |
Packing list
After-sales instructions
Warranty days: 365 days
[Note] For after-sales services outside the Chinese mainland, if the instrument requires repair, the shipping and possible associated taxes shall be borne by the sender. Generation address of the manual: http://en.nbchao.com/p/42155/Specification.html , which is only used by users who purchase commodities from the NBCHAO.
