
HuiNuo QGZ-24 Circular type automatic paint film Drying Time Recorder
 QGZ-24

HuiNuo QGZ-24 Drying Time RecorderSPEC
HuiNuo QGZ-24 Drying Time RecorderDetails
HuiNuo QGZ-24 Drying Time RecorderPacking list
- SKU
- NB048519
- Number of strokes
- 4 stitches
- Scribing needle specification
- R 0.25/0.5/1.0/1.5mm
- track
- 100mm
- execution standard
- GB1727
- measurement error
- ±0.5%
- input Voltage
- AC220V·50HZ
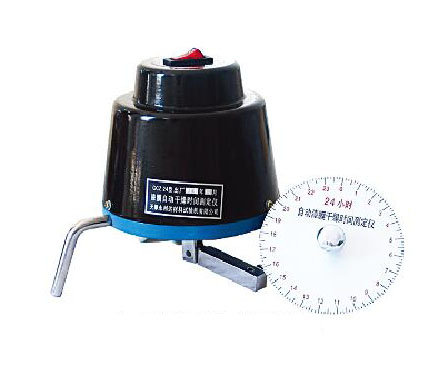
QGZ-24 Automatic Paint Film Drying Time Tester is a new type of instrument for measuring paint drying time. The coating film formed by each type of paint can automatically and continuously display the status of each stage of the drying process in the form of a circular trajectory, and the time taken by each stage can be intuitively analyzed and observed. It is a satisfactory instrument for paint testing and coating formula research.
The main structure and working principle
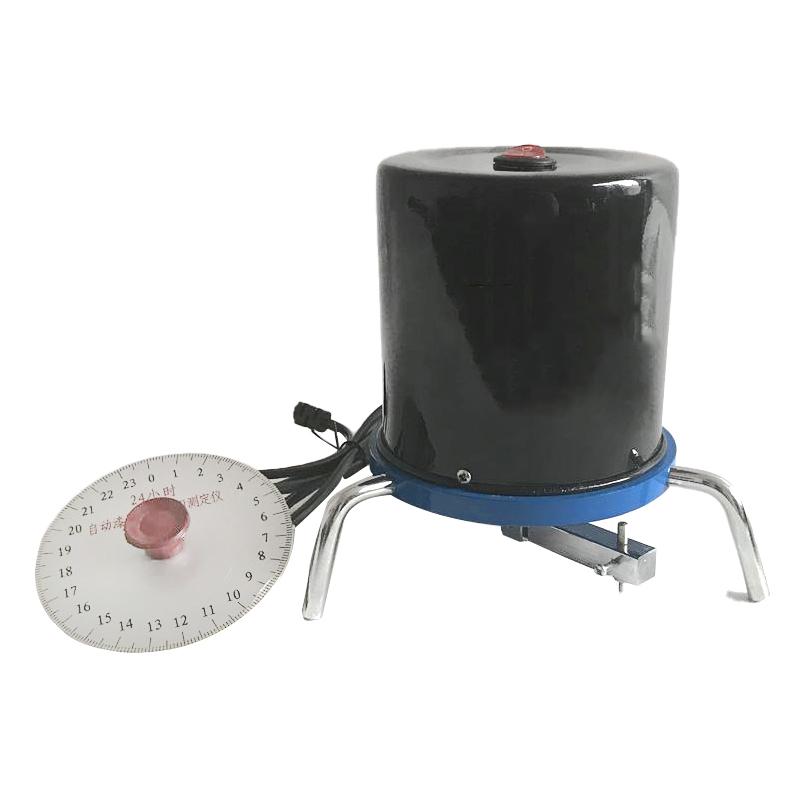
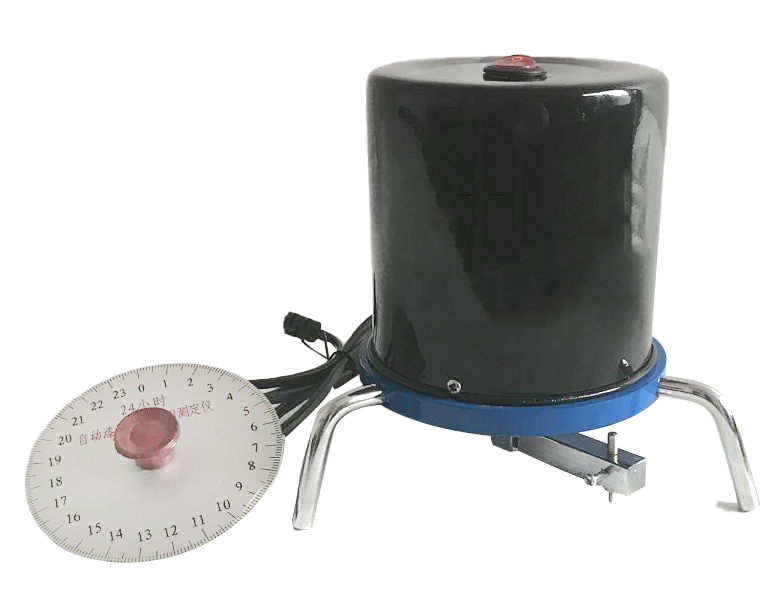
The automatic paint film drying time Tester is composed of a switch (1), an outer cover (2), a motor (in the hood), a foot (3), a connecting shaft (4), a rotating arm (5), a scribing needle (6), a test plate (7), and a time dial (8).
The principle is as follows: the instrument is placed on the prepared coating film test plate, the power supply is turned on, the synchronous motor is connected, and the rotating arm (5) equipped with the marking needle (6) is driven through the connecting shaft (4). (The arm is in a free-falling state) rotates at a constant speed of one week/6 hours, one week/12 hours, and one week/24 hours, and the needle is drawn on the coating film with a circular trajectory of 100 mm. As the coating film gradually dries over time, the plow marks on the coating film change from wide to narrow, from deep to shallow, and finally there are no traces, thus showing the whole process of drying.
Requirements for use
1. Test plate: glass plate (200*200*2-3). or smooth tinplate (200*200*0.2-0.3) or the agreed test plate material.
2. Test environment: according to the requirements of GB1727-79, the coated test plate is placed horizontally, avoiding air flow, no direct sunlight, and the drying test is carried out under the conditions of temperature of 25±1 °C and Relative Humidity of 65±5% or according to other agreed conditions.
How to use:
1. According to the requirements of GB1727-79, prepare the coating film on the test plate (item 44.1 of this manual).
2. According to the drying characteristics of the coating film, the needle is selected, and the fine needle is selected for the quick-drying paint.
3. Place the instrument as a whole on the test board. Before placement, the arm (5) must be pulled counterclockwise (looking down) with your fingers to eliminate mechanical gaps.
4. Make a mark on the contact part between the test board and the marking needle, turn on the power supply, press the switch, the indicator light will be on at the same time, the motor will run, and the test will begin.
5. At the end of the test, turn off the power supply, remove the test plate, put the time dial (8) concentrically on the test board, and align the 0 point on the plate with the test start point on the test board, according to the noun explanation of item 5 of this manual. It is possible to determine the time taken for each stage of the entire drying process.
- 1ASTM D5895《Standard Test Methods for Evaluating Drying or Curing During Film Formation of Organic Coatings Using Mechanical Recorders》
- 2ISO 9117-4《Paints and varnishes - Drying tests - Part 4: Test using a mechanical recorder》
- 3DIN EN ISO 9117《Paints and varnishes - Drying tests - Part 4: Test using a mechanical recorder (ISO 9117-4:2012)》