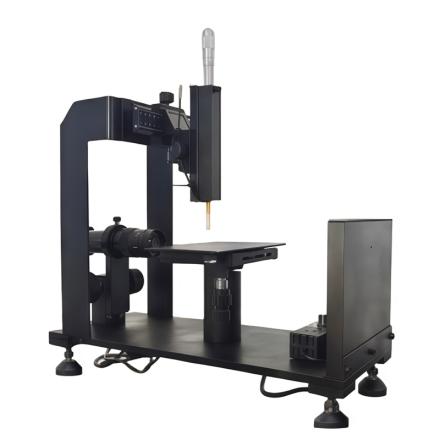
Specifications
| Measurement Accuracy of contact angle | ±0.1° |
| Contact angle test method | Automatic fitting measurement, baseline fitting measurement, manual three-point measurement, area measurement method. |
| Contact angle analysis method | Automatic analysis of contact angle and manual point measurement. |
| Injection system movement | 35mm up and down, 35mm left and right |
| Sample stage movement | Left and right 100mm front and rear 40mm |
| Microscope movement | Up and down 80mm (fine-tuning 3mm) |
| Sampling system | Software automatic precision sampling system, injection Accuracy of 0.1 μl, direct injection of liquid, no need to go through the pipeline, to avoid bubbles, cleaning and other problems |
| data preservation | Automatically save measurement data and pictures, view and delete historical test data. Instant screenshots; export any picture sheet |
| Microscope | 0.7-4 High Definition Microscope |
| scope | Directly convert the measured contact angle to calculate the surface tension or surface energy (range: 0~60mN/m) |
| Test sample Countertop size approx | 200mm×125mm |
| Maximum sample size | 300Mm (length) × 150mm (width) × 10mm (thickness) |
| Product size approx | 500Mm (length) × 200mm (width) × 550mm (height) |
| Power Supply | 220V |
Packing list
host X1, manual X1, certificate X1, warranty card X1
After-sales instructions
Warranty days: 365 days
1.仪器设备非人为造成的产品质量问题,在质保期内厂家提供免费质保服务;
2.易损易耗配件不存在质保期,收到货发现产品质量问题,请在7天内申请退换货,逾期不候;
[Note] For after-sales services outside the Chinese mainland, if the instrument requires repair, the shipping and possible associated taxes shall be borne by the sender. Generation address of the manual: http://en.nbchao.com/p/49338/Specification.html , which is only used by users who purchase commodities from the NBCHAO.
