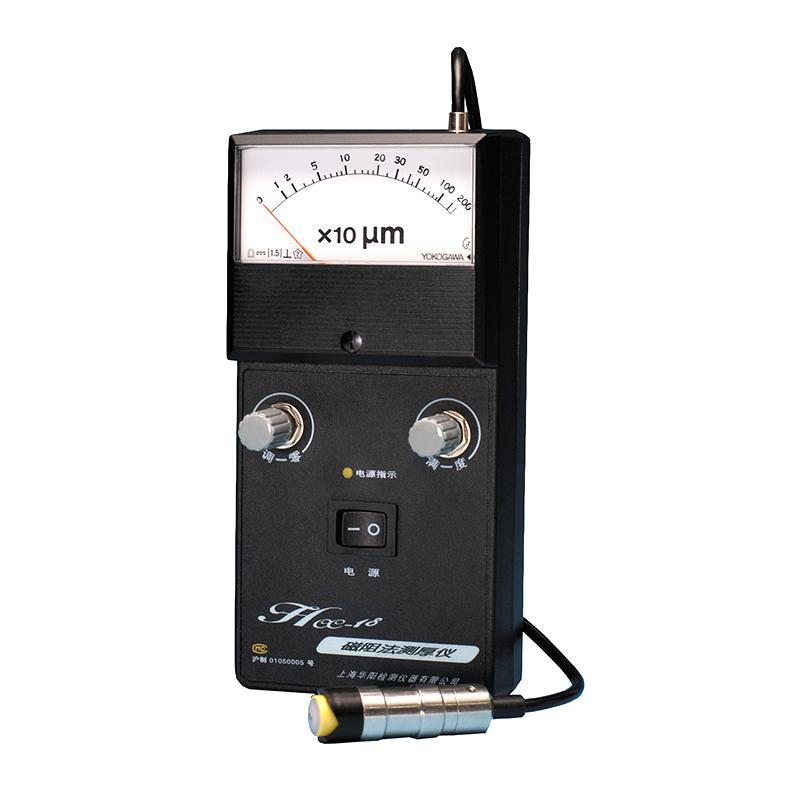
Shanghai HUAYANG HCC-18 Magnetoresistive Thickness Gauge, suitable for non-magnetic conductive coatings on the surface of magnetically permeable materials
HuaYang HCC-18 Magnetoresistive Thickness GaugeSPEC
HuaYang HCC-18 Magnetoresistive Thickness GaugeDetails
HuaYang HCC-18 Magnetoresistive Thickness GaugePacking list
- SKU
- NB000682
- Measurement principle
- Magnetic Induction
- Measurement range
- 0~2000μm
- margin of error
- ±5%
- Minimum measurement surface
- Φ10mm
- Power Supply
- 1 * 6F22 battery
- Machine Weight
- 370g
- Machine size
- 172*85*49mm
- Operating temperature
- 0~40℃
- shutdown mode
- automatic
- Voltage prompt
- When the battery Voltage is too low, the range indicator light flashes to light up
Overview
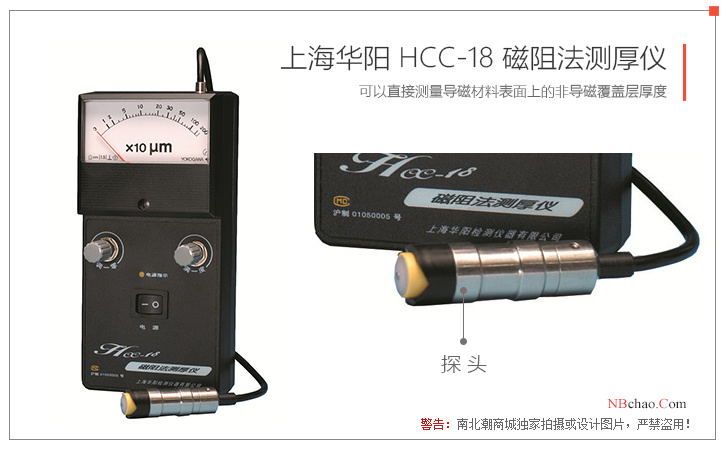
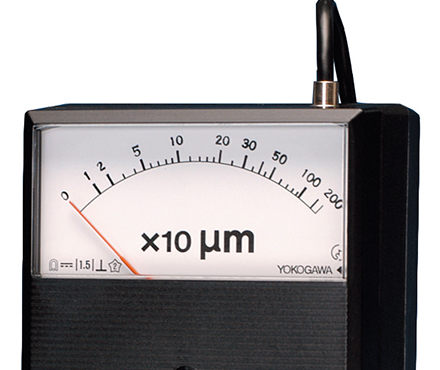
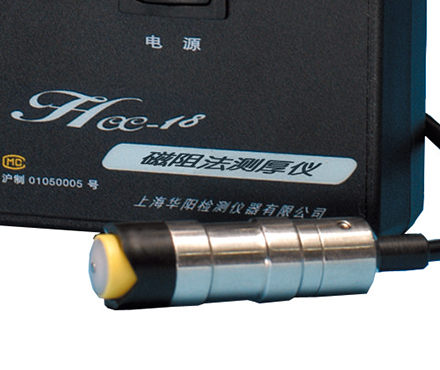
Huayang HCC-18 magnetoresistive Thickness Gauge is a black shell, pointer Thickness Gauge, is a very simple structure of the split Thickness Gauge, the measurement is more convenient.The HCC-18 magnetoresistive Thickness Gauge has a measurement range of 0~2000 microns, has an automatic shutdown function, is suitable for simple thickness measurement occasions, and has an intuitive pointer dial for easy reading.
The HCC-18 magnetoresistive Thickness Gauge is a battery-powered, portable measuring instrument that is simple to operate, easy to use, has good stability and high measurement accuracy. The HCC-18 magnetoresistive Thickness Gauge directly measures the thickness of non-magnetic overlays on the surface of magnetically conductive materials.
Operating Principle:
HCC-18 magnetoresistive Thickness Gauge is a magnetoresistive measurement technology, when the measuring probe is in contact with the overlay, the probe and the magnetic permeability substrate form a closed magnetic loop, through the magnetoresistive measurement can obtain the thickness of the overlay layer, directly from the Thickness Gauge head.
Live shot
Operating Principle:
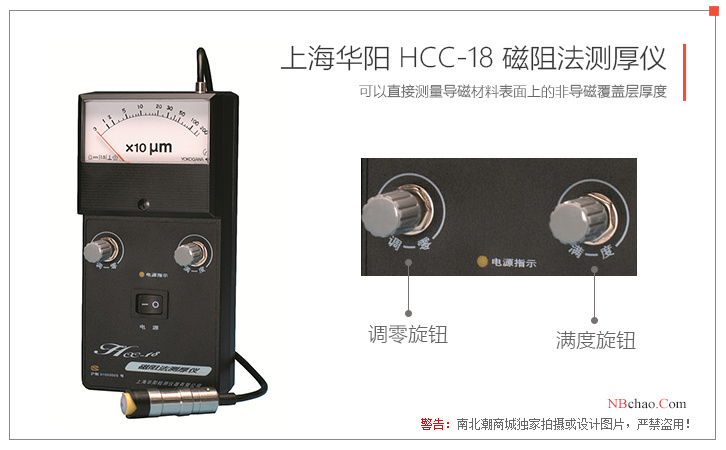
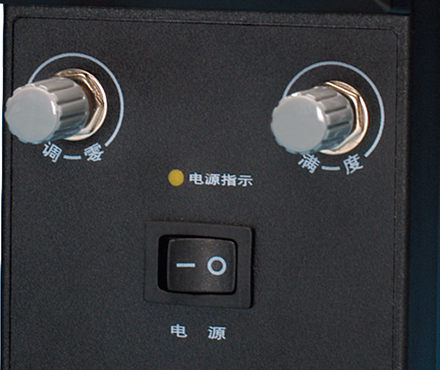
1) Turn on the power switch of the HCC-18 magnetoresistive Thickness Gauge, and the power indicator will be on.
2) Take a piece of uncoated (plating) or remove the coating (plating) layer, and the surface is smooth and smooth as the base block. A 20 μm standard specimen is inserted between the probe and the substrate, and the gauge pointer of the adjustment knob is 20 μm.
3) Put a 2000μm standard thickness block between the probe and the base block, apply a certain pressure, adjust the full degree knob, and make the meter pointer point to the full degree value.
4) Repeat 2 and 3 adjustments until the indication is correct, and the calibration is complete. Actual measurements can be made.
5) When the power indicator flashes, you need to replace the battery with a new one.
6) In order to improve the measurement accuracy, when the thickness of the measured coating is thin (less than 20μm), the probe can be directly pressed on the base block, and the zero knob can be adjusted so that the meter pointer is at 0μm. Place a 20 μm standard specimen between the probe and the substrate, and adjust the full knob so that the meter pointer is at 20 μm. Repeat these two adjustments until the indication is correct, and the actual measurement can be taken.
7) When measuring micro parts, it is recommended to use appropriate fixtures to fix the DUT as shown in the figure below.
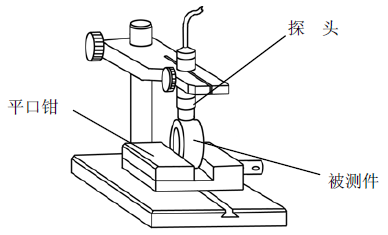
Thickness Gauge shape
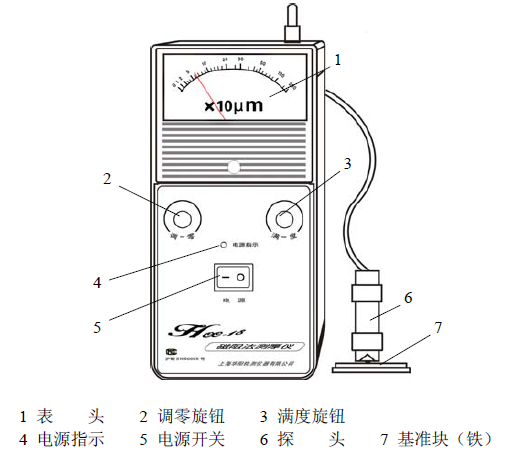
Scope of application
HCC-18 magnetoresistive Thickness Gauge can be applied to the thickness measurement of electroplating, paint layer, enamel layer, aluminum tile, copper tile, babbitt tile, phosphate layer, paper, etc., and can also be used for thickness measurement of hull paint and attachments of structural parts.
Precautions for use
1) In order to improve the measurement accuracy, it is recommended to use the uncoated DUT or the test block with the same material as the DUT as the reference block for calibration.
2) After the HCC-18 magnetoresistive Thickness Gauge is used, turn off the power and apply a little grease to the contacts and reference blocks of the measuring head to prevent corrosion.
3) The battery should not be placed in the battery box for a long time, so as to avoid battery leakage and corrosion of the battery box.
4) It is strictly forbidden to knock or collide with the probe, so as not to affect the performance of the probe.
5) HCC-18 magnetoresistive Thickness Gauge should be protected from severe vibration and impact.
6) After use, wipe off the oil stain on the surface of the HCC-18 magnetoresistive Thickness Gauge and put it into the storage box of the HCC-18 magnetoresistive Thickness Gauge and keep it properly.
Meets standards
The international standard is ISO-2178 and the national standard is GB-4956
Certificate of Authorization for Sales
- 1Detailed comparison of 4 Coating Thickness Gauges in Huayang
南北潮
- 2Huayang HCC-18 Magnetoresistive Thickness Gauge Operation Instructions
- 3Reasons for measurement deviation of Coating Thickness Gauge
- 1QJ 990.3A-2011《Inspection methods of coating.Part 3:Measurement of coating thickness》
- 2ASTM B499-2021《Standard Test Method for Measurement of Coating Thicknesses by the Magnetic Method: Nonmagnetic Coatings on Magnetic Basis Metals》
- 3ISO 2178-2016《Non-magnetic coatings on magnetic substrates — Measurement of coating thickness — Magnetic method》
- 4ASTM B499-2021《Standard Test Method for Measurement of Coating Thicknesses by the Magnetic Method: Nonmagnetic Coatings on Magnetic Basis Metals》
- 5ISO 19840-2012《Paints and varnishes Corrosion protection of steel structures by protective paint systems》
- 6ASTM E376-2019《Standard Practice for Measuring Coating Thickness by Magnetic-Field or Eddy Current (Electromagnetic) Testing Methods》
- 7ISO 2808-2019《Paints And Varnishes - Determination Of Film Thickness》
- 8JJG 889-1995《Magnetic Resistance Thiness Gauge》
- 9GB/T 4956-2003《Magnetic substrate, nonmagnetic overlay, overlay thickness measurement magnetic method》
- 10ISO 2361-1982《Electrodeposited Nickel Coatings On Magnetic And Non-Magnetic Substrates - Measurement Of Coating Thickness - Magnetic Method》
 HCC-18


