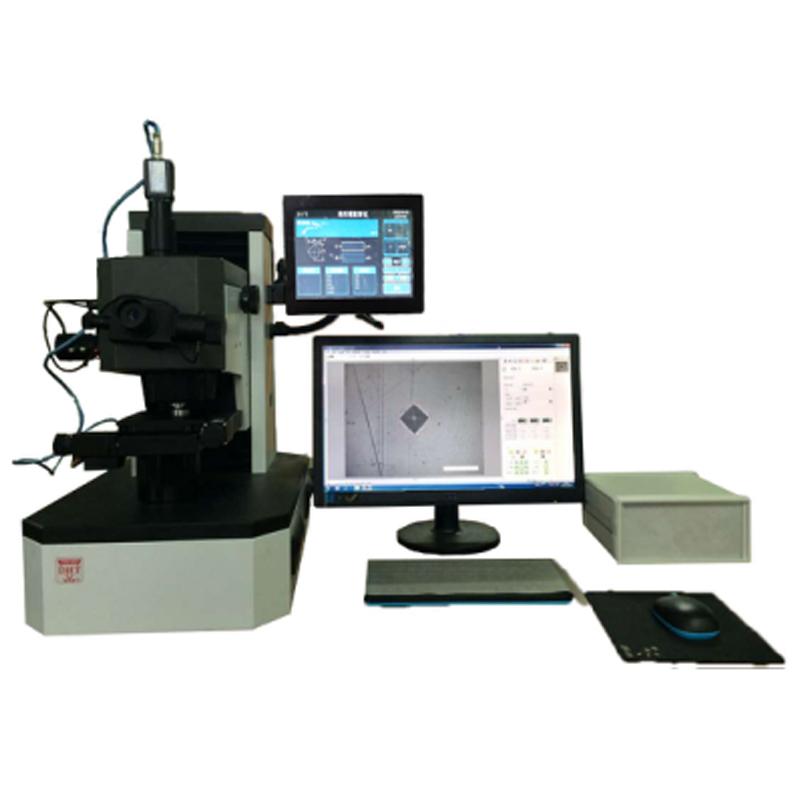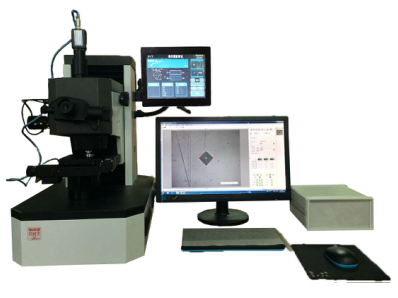
SMTMF JMHVS-1000-XY Automatic Precision Microscope Hardness Tester Head Mobile
SMTMF JMHVS-1000-XY Automatic Precision Microscope Hardness Tester (Machine Head Mobile)SPEC
SMTMF JMHVS-1000-XY Automatic Precision Microscope Hardness Tester (Machine Head Mobile)Details
SMTMF JMHVS-1000-XY Automatic Precision Microscope Hardness Tester (Machine Head Mobile)Packing list
- SKU
- NB015591
- test force
- 10gf、25gf、50gf、100gf、200gf、300gf、500gf、1kgf(0.098N、0.245N、0.49N、0.98N、1.96N、2.94N、4.9N、9.8N)
- execution standard
- GBT4340.1,GBT4340.2,ASTM_E92
- Test force application method
- Automatic (loading, retaining, unloading)
- Microscope magnification
- 100X (observation), 200X (test)
- Switching between indenter and objective lens
- automatic switch
- Maximum height of specimen
- 210mm
- Maximum width of specimen
- 125mm
- XY sample stage and movement control
- XY stroke: 50mm * 50mm Table size: 200mmX180mm, displacement, repeability Accuracy < 2um; XY Displacement resolution up to 2um
- XY sample stage and movement control
- XY traverse speed can be adjusted
- XY sample stage and movement control
- You can click the mouse to control the movement, or enter the movement distance, etc
- XY sample stage and movement control
- XY movement can be controlled by the joystick, and the position is fed back in time.
- Load mode and path settings
- A variety of ways to ensure that users in the sample placement is not vertical or horizontal, still get satisfactory measurement results. Two-point method: click any two points on the sample image to specify the moving direction of the stage; normal method: select the normal tangent to the edge of the sample as the moving direction of the stage;
- Load mode and path settings
- Angle bisector: by selecting the angle, the bisector direction is used as the moving direction of the sample; arbitrary point mode: move the platform to any position, add the loading point, and then load and measurement.
- Load mode and path settings
- Loading at any point: Double-click at any position on the platform, the platform automatically moves the point to the center of the indenter's field of view, loading and measurement. Path adjustment: For the selected path, you can perform various operations such as horizontal mirror, vertical mirror, 90 degrees, 180 degrees, any angle swirl/spin, position translation, etc
- Automatic measurement
- According to the set loading path point by point automatic loading, automatic measurement indentation calculation Hardness value, and draw hardened Linear dispersion;
- Camera and calibration management
- 13,000 pixel USB2.0 CMOS dedicated to Microscope measurement camera 2. Hardness calibration block or calibration ruler can be used to calibrate the camera 3. In order to improve Measuring Accuracy, different test forces can be calibrated separately, and the system automatically loads
- Hardness value conversion, correction
- Hardness conversion: The measured Vickers Hardness value can be converted to other Hardness values of the American standard, the national standard, or the German standard, such as HB, HR, etc.;
- data statistics
- Automatically calculate the average and variance of Hardness statistics
- Measurement algorithm
- 1. Reliable automatic reading technology - Reliable automatic reading technology, not only can get sub-pixel, high-precision, high-repeability results, but also suitable for general indentation images even including a small amount of rust, scratches, uneven rays of light, shallow corrosion image, Measurement speed is extremely fast;
- Measurement algorithm
- 2. Unique manual point-picking and automatic point-finding technology - users can roughly point-pick near the four vertices of the indentation, and the system automatically determines a better vertex position and directly reads the data; not only to meet the habits of ordinary users, but also to greatly reduce the labor intensity of users;
- Measurement algorithm
- 3. General manual Measuring method - including 4 vertices measurement, 2 diagonal measurement, etc. When 4 vertices are measured, 4 vertices can be taken in any order, which is convenient for users
- Hardened Linear dispersion
- Automatically draw hardened Linear dispersion:
- Data storage
- The original measurement data and images can be saved in the document for later recall and report; a file saves all the data of a measurement
- test report
- Automatically generate WORD or EXCEL document reports; report formats can be customized; standard formats include Hardness value per single measurement point, statistical value, indentation image, and hardened Linear dispersion, etc
- Knoop Hardness
- Can be set for Knoop Hardness measurement

Introduction
JMHVS-1000-XY semi-automatic precision microHardness Tester image measurement system adopts the Vickers hardness measurement system developed by the integrated concept, and the new design of the mobile head (domestic (CN) patented product).
The equipment is mainly used for the determination of microscopic Vickers hardness of various metals and some non-metallic materials, and can determine the hardness of various parts (machined parts, forgings, cast iron, steel castings, etc.), non-ferrous metals and hot post-treated parts, etc., and is also suitable for the determination of the depth of the effective hardening layer, the heat-affected part of the coating and welded parts. It can also be used for the observation of the metallographic structure inside various metal parts and the collection, display and output of images. It is suitable for measuring the hardness gradient distribution curve of the workpiece and measuring the surface hardness of the gear after heat treatment, and the depth of the effective hardening layer
JMHVS-1000-XY semi-automatic Vickers hardness image measurement system integrates a variety of new professional technologies such as optical imaging, mechanical displacement, electronic control, digital imaging, image analysis, computer processing, etc., realizes the control of microscopic Vickers Hardness Tester and automatic stage through the computer host, and digitally images the hardness indentation on the computer screen, and then accurately measures the microhardness and hardening depth of metal and some non-metallic materials and various films and coatings through automatic reading and manual reading. Thickness of the film layer, spacing between two points, etc. It is also possible to photograph the topography of metal surfaces and print them at fixed magnification. This system breaks through the traditional hardness testing method and realizes fully automatic, high-precision and high-repeatability hardness testing, which is an important equipment for material analysis.

Function introduction
XY sample movement control: The system supports XY electric mobile sample stage; These include manual control, electric control (joystick control) and automatic control (software control). Synchronous movement in the X-Y direction. The electric control is controlled by a three-dimensional joystick, using ergonomic principles, simple and convenient, and as you like.
Software control and loading mode
Positioning and mobile loading: the table is directly moved to the position set by the software and loaded;
Fixed-point mobile loading: select any point on the sample, move it to the bottom of the indenter and load;
Directional movement loading: mouse click to control the stage to move in eight directions, and the movement step can be set and loaded;
Loading in any position: drag the stage to move in any direction with the mouse, which is convenient for the user to browse the surface of the sample; And the loading point can be set at any location;
Variable speed movement: When the platform moves, there are five speed levels to choose from;
Other functions: arbitrary setting of the origin position, automatic reset, mechanical limit and other professional functions to meet various needs;
Fully automatic operation: the system automatically moves at multiple points according to the set path, automatic turret, automatic loading, automatic focusing and automatic measurement, and automatically draws the hardening curve;
Hardness value conversion, correction and effective verification: The system can convert the measured microscopic Vickers hardness value into other hardness values such as HB, HR, etc.; Valid verification of sample measurements.
| Standard configuration | |||
| name | quantity | name | quantity |
| Weight shafts | 1 root | weight | 6 pcs |
| Cross test bench | 1 pc | Sheet clamping table | 1 pc |
| Flat clamping table | 1 pc | Filament blessing table | 1 pc |
| screwdriver | 2 handfuls | Horizontal adjustment screws | 4 pcs |
| 10x micrometric eyepieces | 1 pc | Microhardness block | 2 pieces |
| Spare bulb (6V/12W) | 2 pcs | Spare fuse 1A | 2 pcs |
| Spirit level | 1 pc | Product Certificate | 1 serving |
| Instruction manual for the product | 1 serving | ||
| Software configuration | |||
| name | quantity | name | quantity |
| XY motorized stage | 1 pc | Dongle | 1 pc |
| Power cord | 1 root | Two-dimensional platform control box | 1 pc |
| XY cable | 1 set | USB cable | 1 root |
| 3 million dedicated cameras | 1 pc | Software installation CD | 1 tablet |
- 1Specific operation methods of microHardness Tester and image measurement system
- 2Requirements for Casting Hardness in American Standard ASTM and Selection of Sclerometer
 JMHVS-1000-XY
