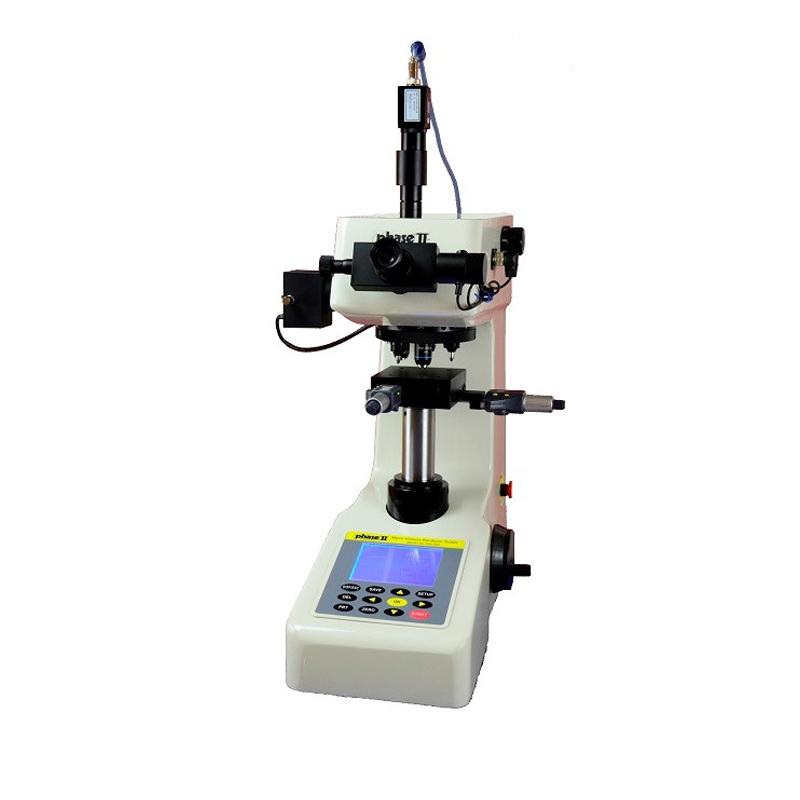
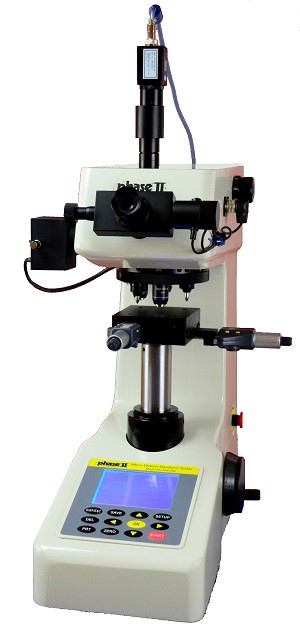
PhaseII 900-392 Vickers Hardness TesterSPEC
PhaseII 900-392 Vickers Hardness TesterDetails
PhaseII 900-392 Vickers Hardness TesterPacking list
- SKU
- NB016738
- Test force Nm
- 98, 245, 490, 980, 1960, 2940, 4900, 9800 Nm
- Test force gf
- 10, 25, 50,100, 200, 300, 500, 1000(1K) gf
- Vickers Hardness
- HV0.01, HV0.025, HV0.05, HV0.1, HV0.2, HV0.3, HV0.5, HV1
- Knoop Hardness System
- HK0.01, HK0.025, HK0.05, HK0.1, HK0.2, HK0.3, HK0.5, HK1
- Test method
- HV / HK
- language
- English/Chinese
- Test force application method
- Automatic (loading/loading/unloading)
- X-Y test bench size
- 100*100mm
- X-Y test bench itinerary
- 25*25 mm
- X-Y test sample stage rotation scale
- 0.002mm
- Hardness conversion
- Multiple Hardness Conversion Options
- Test force holding time
- 0~90s (every 5 seconds is an adjustment order)
- Turret
- Switching between indenter and objective, automatic and manual optional
- contrast ratio
- Adjustable
- Maximum test space in the vertical direction
- 90mm
- The maximum distance from the center of the indenter in the horizontal direction to the outer wall
- 120mm
- Power Supply
- AC110/220V, 60/50Hz
- Guaranteed size
- 495×305×550mm
- Net Weight
- 33kg

Knoop & Vickers
The state-of-the-art PHASE II Micro Vickers Hardness Tester is a state-of-the-art measuring system for the hardness analysis of metal samples in metallographic laboratories or production workshops.

The PHASE II Micro Vickers Hardness Tester is an all-rounder Hardness Tester with a user-friendly system designed for accurate hardness measurement of the depth and gradient of small precision parts, thin materials, surface coatings, cables and hardened layers. The PHASE II 900-392 series Vickers Hardness Tester consists of: automatic turret, camera, adapter glasses, USB output cable and 6 optional measurement software. The 900-392 series Vickers Hardness Tester contains test forces from 10g to 1kg.
Following the ASTM E-384/92 Vickers Hardness Tester standard, the 900-392 series Vickers Hardness Tester will provide excellent repeatability. This Micro Vickers Hardness Tester is able to freely switch between Vickers and Knoop measurements, thanks to the installation of both indenters. The PHASE II Vickers Hardness Tester is a good product for any environment, with a 5-year warranty and long-term free technical support
Group of objectives
Magnification: 10x, 20x, 40x
Features
3 sets of measuring objectives with magnifications: 10x – 20x – 40x
Double indenter! Vickers and Knoop indenters
Includes automatic turret, camera and measurement software
The hardness system can be converted in real time by means of the measurement software
THE MEASUREMENT SOFTWARE CAN BE USED TO SAVE MEASUREMENT DATA, INDENTATION IMAGES, AND GENERATE HARDENING DEPTH CURVES TO A WORD OR EXCEL FILE
Choice of three sets of measuring objectives:
| eyepiece | objective | Total magnification | Minimum graduation value |
| 10× | 10× | 100× | 0.25 μm |
| 20× | 200× | 0.03 μm | |
| 40× | 400× | 0.015 μm |
- 1Learn the basics of Vickers hardness testing
- 2The principle and subdivision type of Vickers Hardness Tester
- 3Measurement Principle of PhaseII PTG Coating Thickness Gauge
- 4Microindentation Hardness Testing Principle and Its Typical Applications
- 5What is the Vickers hardness test? How to test Vickers hardness?

 900-392
