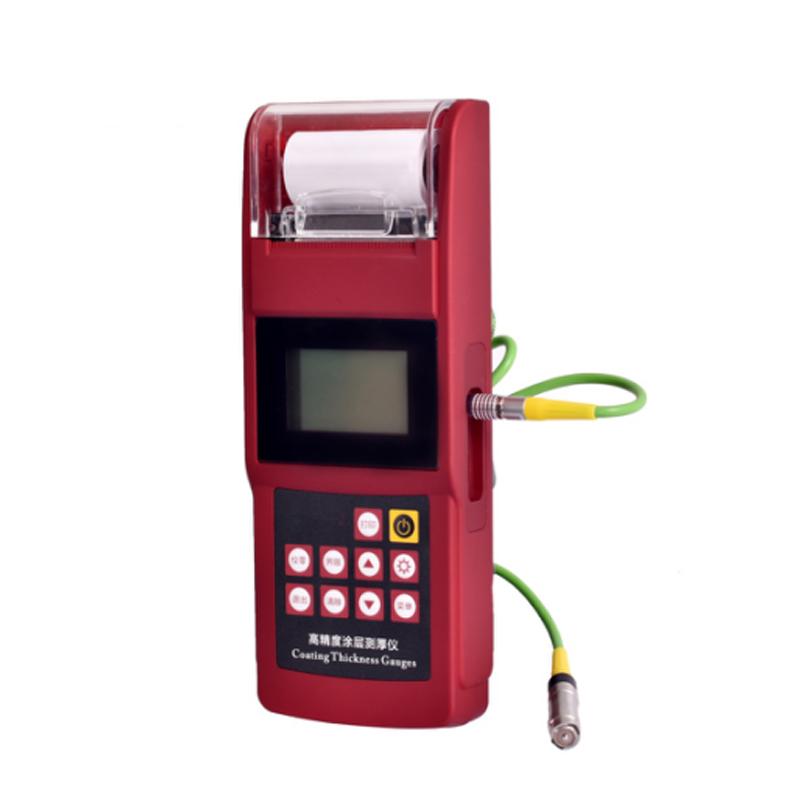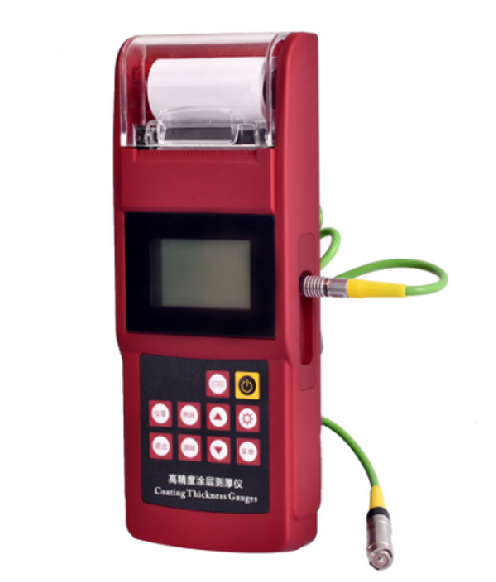
LEEB U923 high-precision Coating Thickness Gauge with printing function
Leeb U923 High-precision Coating Thickness GaugeSPEC
Leeb U923 High-precision Coating Thickness GaugeDetails
Leeb U923 High-precision Coating Thickness GaugePacking list
- SKU
- NB022737
- Measurement principle
- Magnetic Induction or eddy Current
- Measurement range
- Probe decision
- margin of error
- One point calibrate: probe determined, standard probe +/- (3% H + 1), two point calibrate: probe determined, standard probe +/- [( 1~ 3%) H + 1]
- Resolution
- 0.1μm
- statistical function
- Measurement times, MAX Maximum, MIN Minimum, Average, Standard deviation
- Data storage
- 1560 Measured values
- Power Supply
- lithium battery
- Operating temperature
- 0~40℃
- Relative Humidity
- 20~90%RH
- Minimum radius of curvature
- Minimum radius of curvature: convex 1.5, concave 9mm Minimum area diameter: 0019 7mm Basic critical thickness: 0.5mm
- Print function
- Yes.
- Machine Weight
- 420g
- Machine size
- 238*90*38mm
- Operating Mode
- Direct mode (DIRECT) and group mode (Appl)
- Measurement mode
- Direct mode (DIRECT) and group mode (Appl)
- Shell material
- Mg aluminum alloy
- Print roll diameter
- 30±0.5mm
- Paper width
- 56.5±0.5mm

overview
Among similar products in CHINA, the measurement accuracy is the highest (Class A), the fastest speed and the stability is better. And easy to operate, built-in printing, beautiful appearance, it can be fast, non-damage, precise coating measurement. It can be used both in the laboratory and in the engineering field. By adapting to different side heads, it can also meet a wide range of measurement needs. This instrument is widely used in manufacturing, metal processing industry, chemical industry, commodity inspection and other testing fields. It is an instrument required for the material protection profession. This instrument complies with the following standards: GB/T 4956-1985 Measurement of the thickness of non-magnetic overlay on magnetic metal substrates, magnetic method, GB/T 4957-1985 Thickness measurement of non-conductive overlay on non-magnetic metal substrates, eddy current method. JB/T 8393-1996 Magnetic and eddy current cladding Thickness Gauge JJG 889-95 JJG818-93

Features
Full Chinese interface operation, more convenient;
This instrument adopts two thickness measurement methods, magnetic and eddy current, which can non-destructively measure the thickness of the non-magnetic covering layer (such as zinc, aluminum, chromium, copper, rubber, paint, etc.) on the magnetic metal matrix (such as steel, iron, alloy and hard magnetic steel, etc.) and the thickness of the non-conductive covering layer (such as rubber, paint, plastic, anodized film, etc.) on the non-magnetic metal matrix (such as copper, aluminum, zinc, tin, etc.).
7 probes available (F400, F1, F1/90°, F10, CN02, N1)
There are two measurement methods: single measurement and continuous measurement (fast reading acquisition over a large area) to convert to metric and imperial conversion;
It has two Operating Modes: direct mode (DIRECT) and group mode (A-B);
There are five statistics: mean (MEAN), maximum (MAX), minimum (MIN), number of tests (NO.), standard deviation (S.DEV);
A variety of calibration methods: the instrument can be calibrated by one test piece calibration and two test piece calibration methods, and the systematic error of the instrument can be corrected by five test piece calibration;
With storage function: it can store 4 types of workpieces, 26 groups of each type of workpiece, 15 measured values in each group, a total of 1560 measured values;
It has the function of deleting: it can delete a single suspicious data that appears in the measurement, and can also delete all the data in the storage area in order to make a new measurement;
Limit can be set: the measured value outside the limit can be automatically alarmed;
Built-in thermal printer: You can print the current measured data directly, or you can choose to store a set of data.
It has the function of communicating with the PC: the measured value and statistical value can be transmitted to the PC for further processing of the data;
There is a beep prompt during the operation;
There are two shutdown modes: manual shutdown mode and automatic shutdown mode
Principle
This instrument adopts two thickness measurement methods, magnetic and eddy current, which can non-destructively measure the thickness of the non-magnetic coating layer (such as aluminum, chromium, copper, enamel, rubber, paint, etc.) on the magnetic metal matrix (such as steel, iron, alloy and hard magnetic steel, etc.) and the thickness of the non-conductive coating layer (such as enamel, rubber, paint, plastic, etc.) on the non-magnetic metal matrix (such as copper, aluminum, zinc, tin, etc.).
a) Magnetic method (F-type probe)
When the probe is in contact with the coating layer, the probe and the magnetic metal substrate form a closed magnetic circuit, due to the presence of the non-magnetic coating layer, the magnetic circuit magnetic resistance changes, and the thickness of the coating layer can be derived by measuring its change.
b) Eddy current method (N-type probe)
The high-frequency alternating current is used to generate an electromagnetic field in the coil, and when the probe is in contact with the coating layer, eddy currents are generated on the metal substrate, and a feedback effect is generated on the coil in the probe, and the thickness of the coating layer can be derived by measuring the magnitude of the feedback action.
 U923
U923
